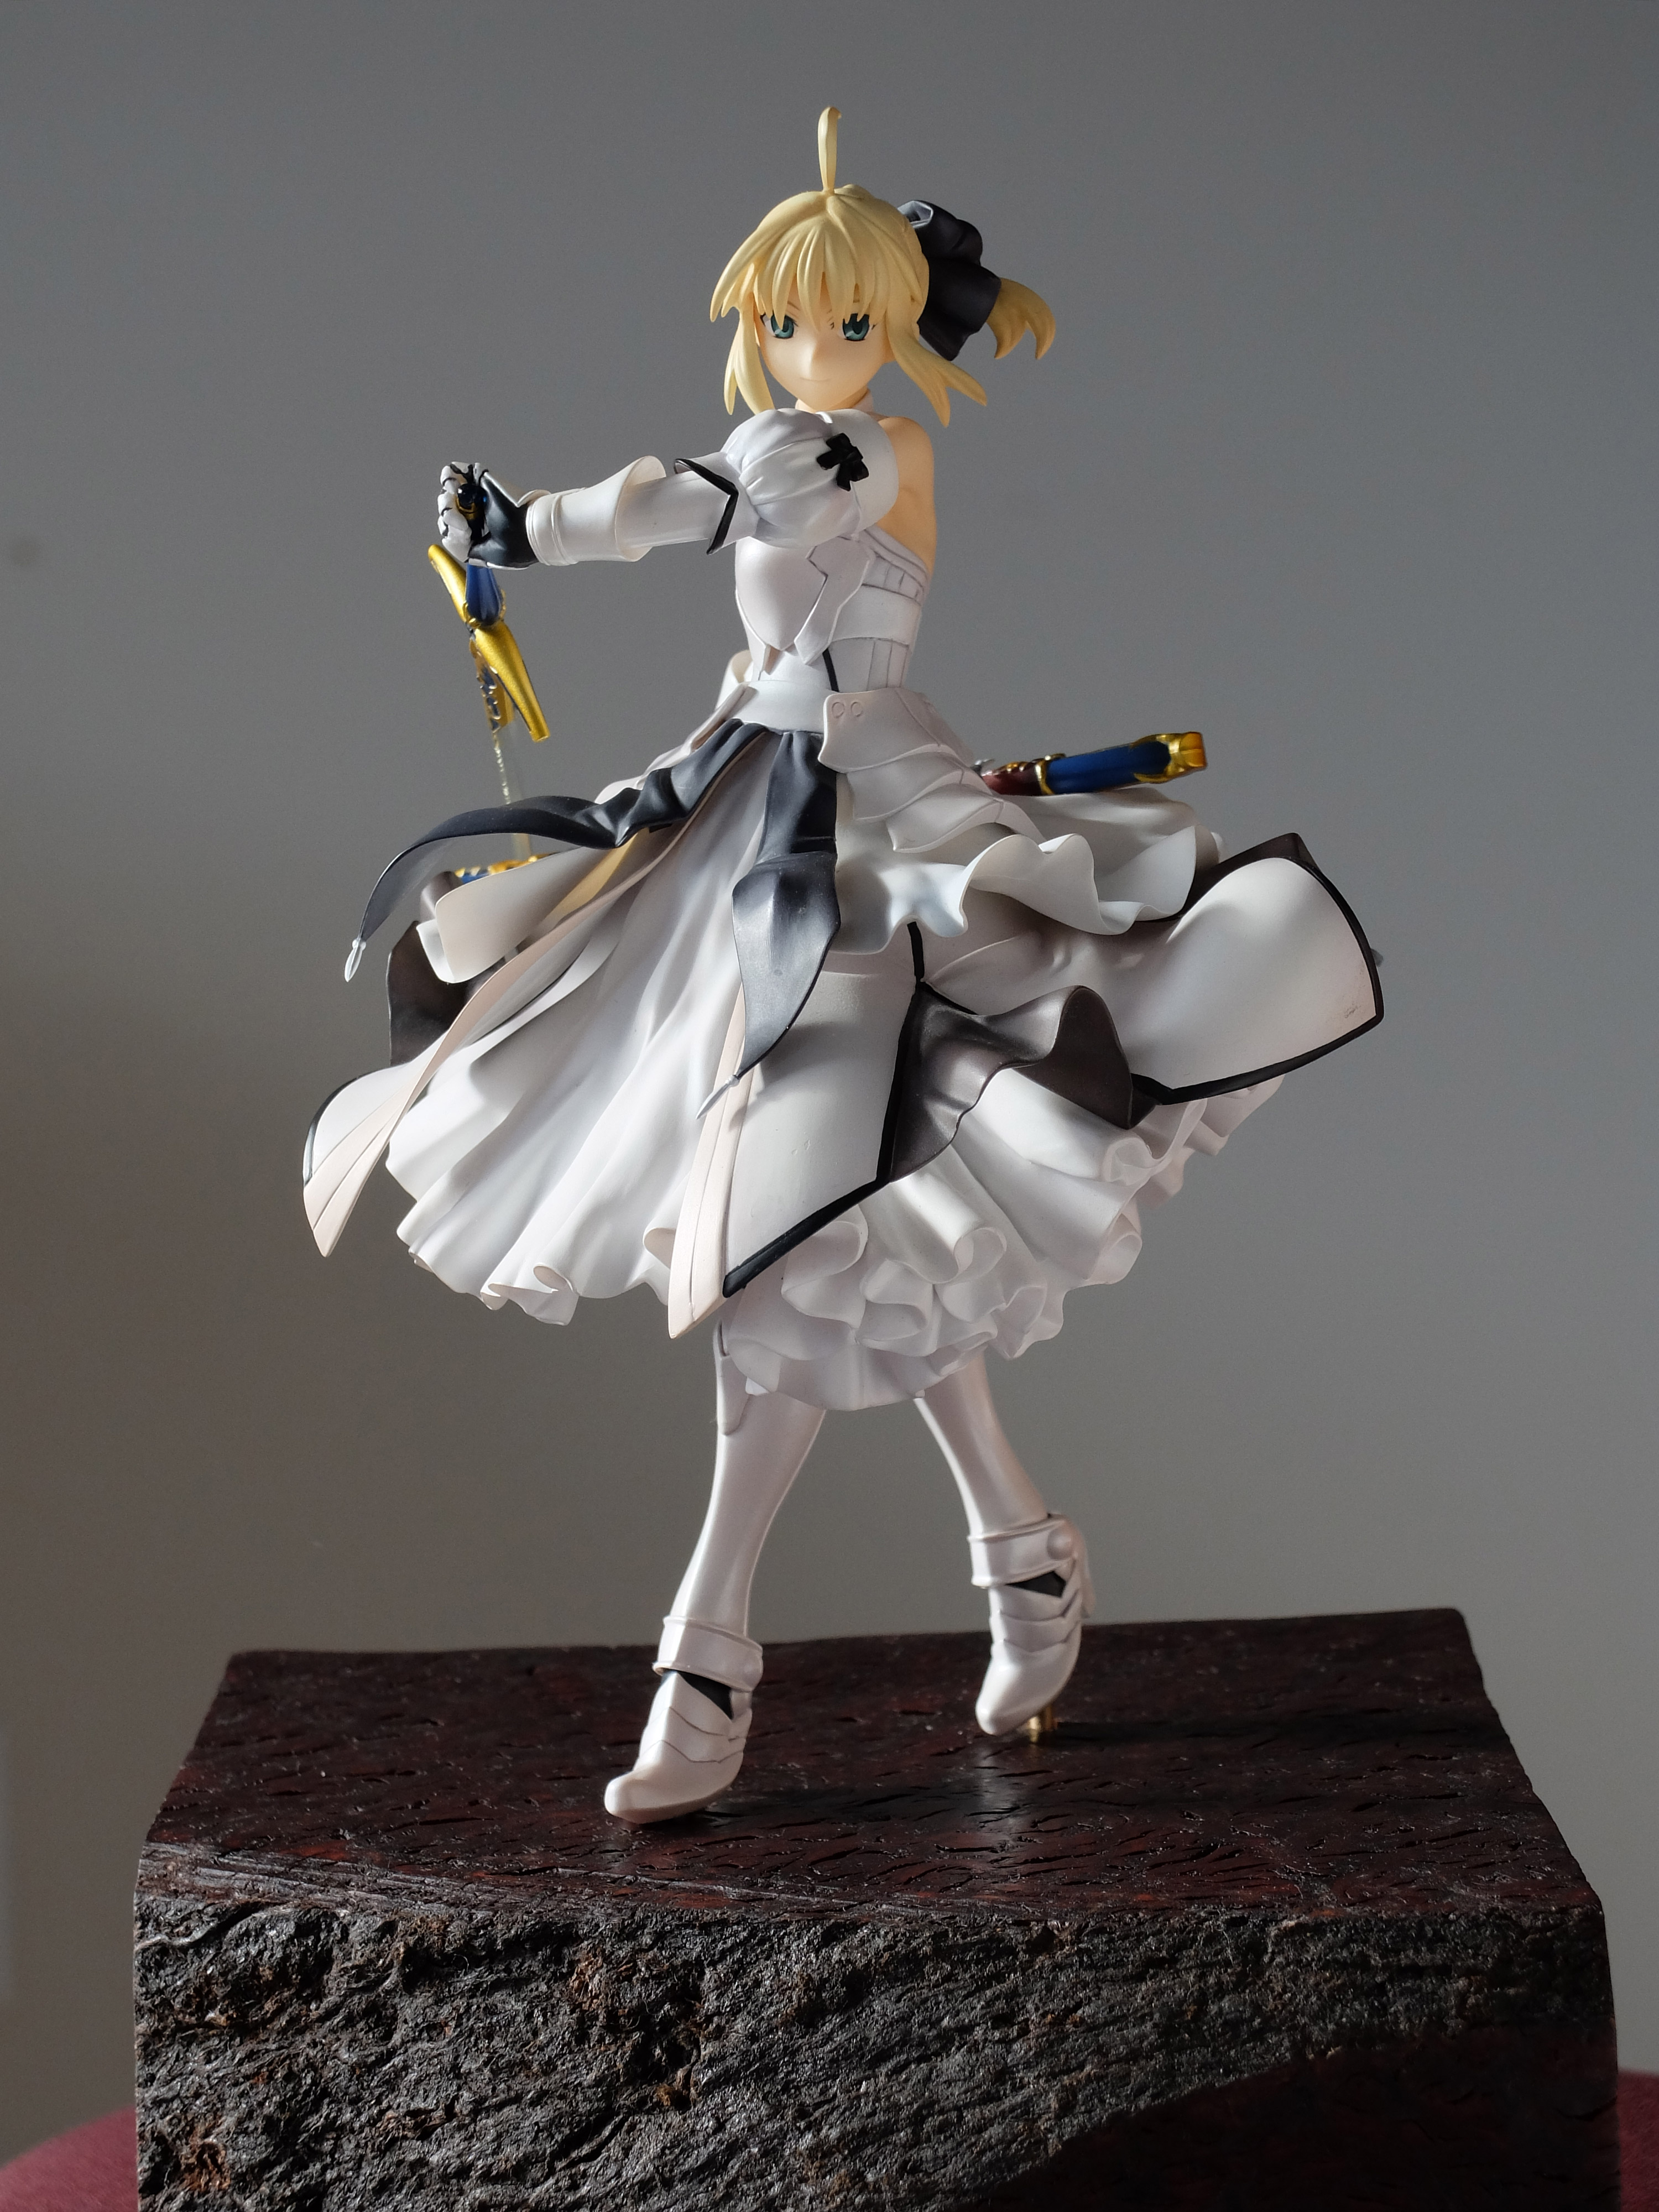
Making a Wood Base for Saber Lily
Replace broken base with wooden base and brass pegs
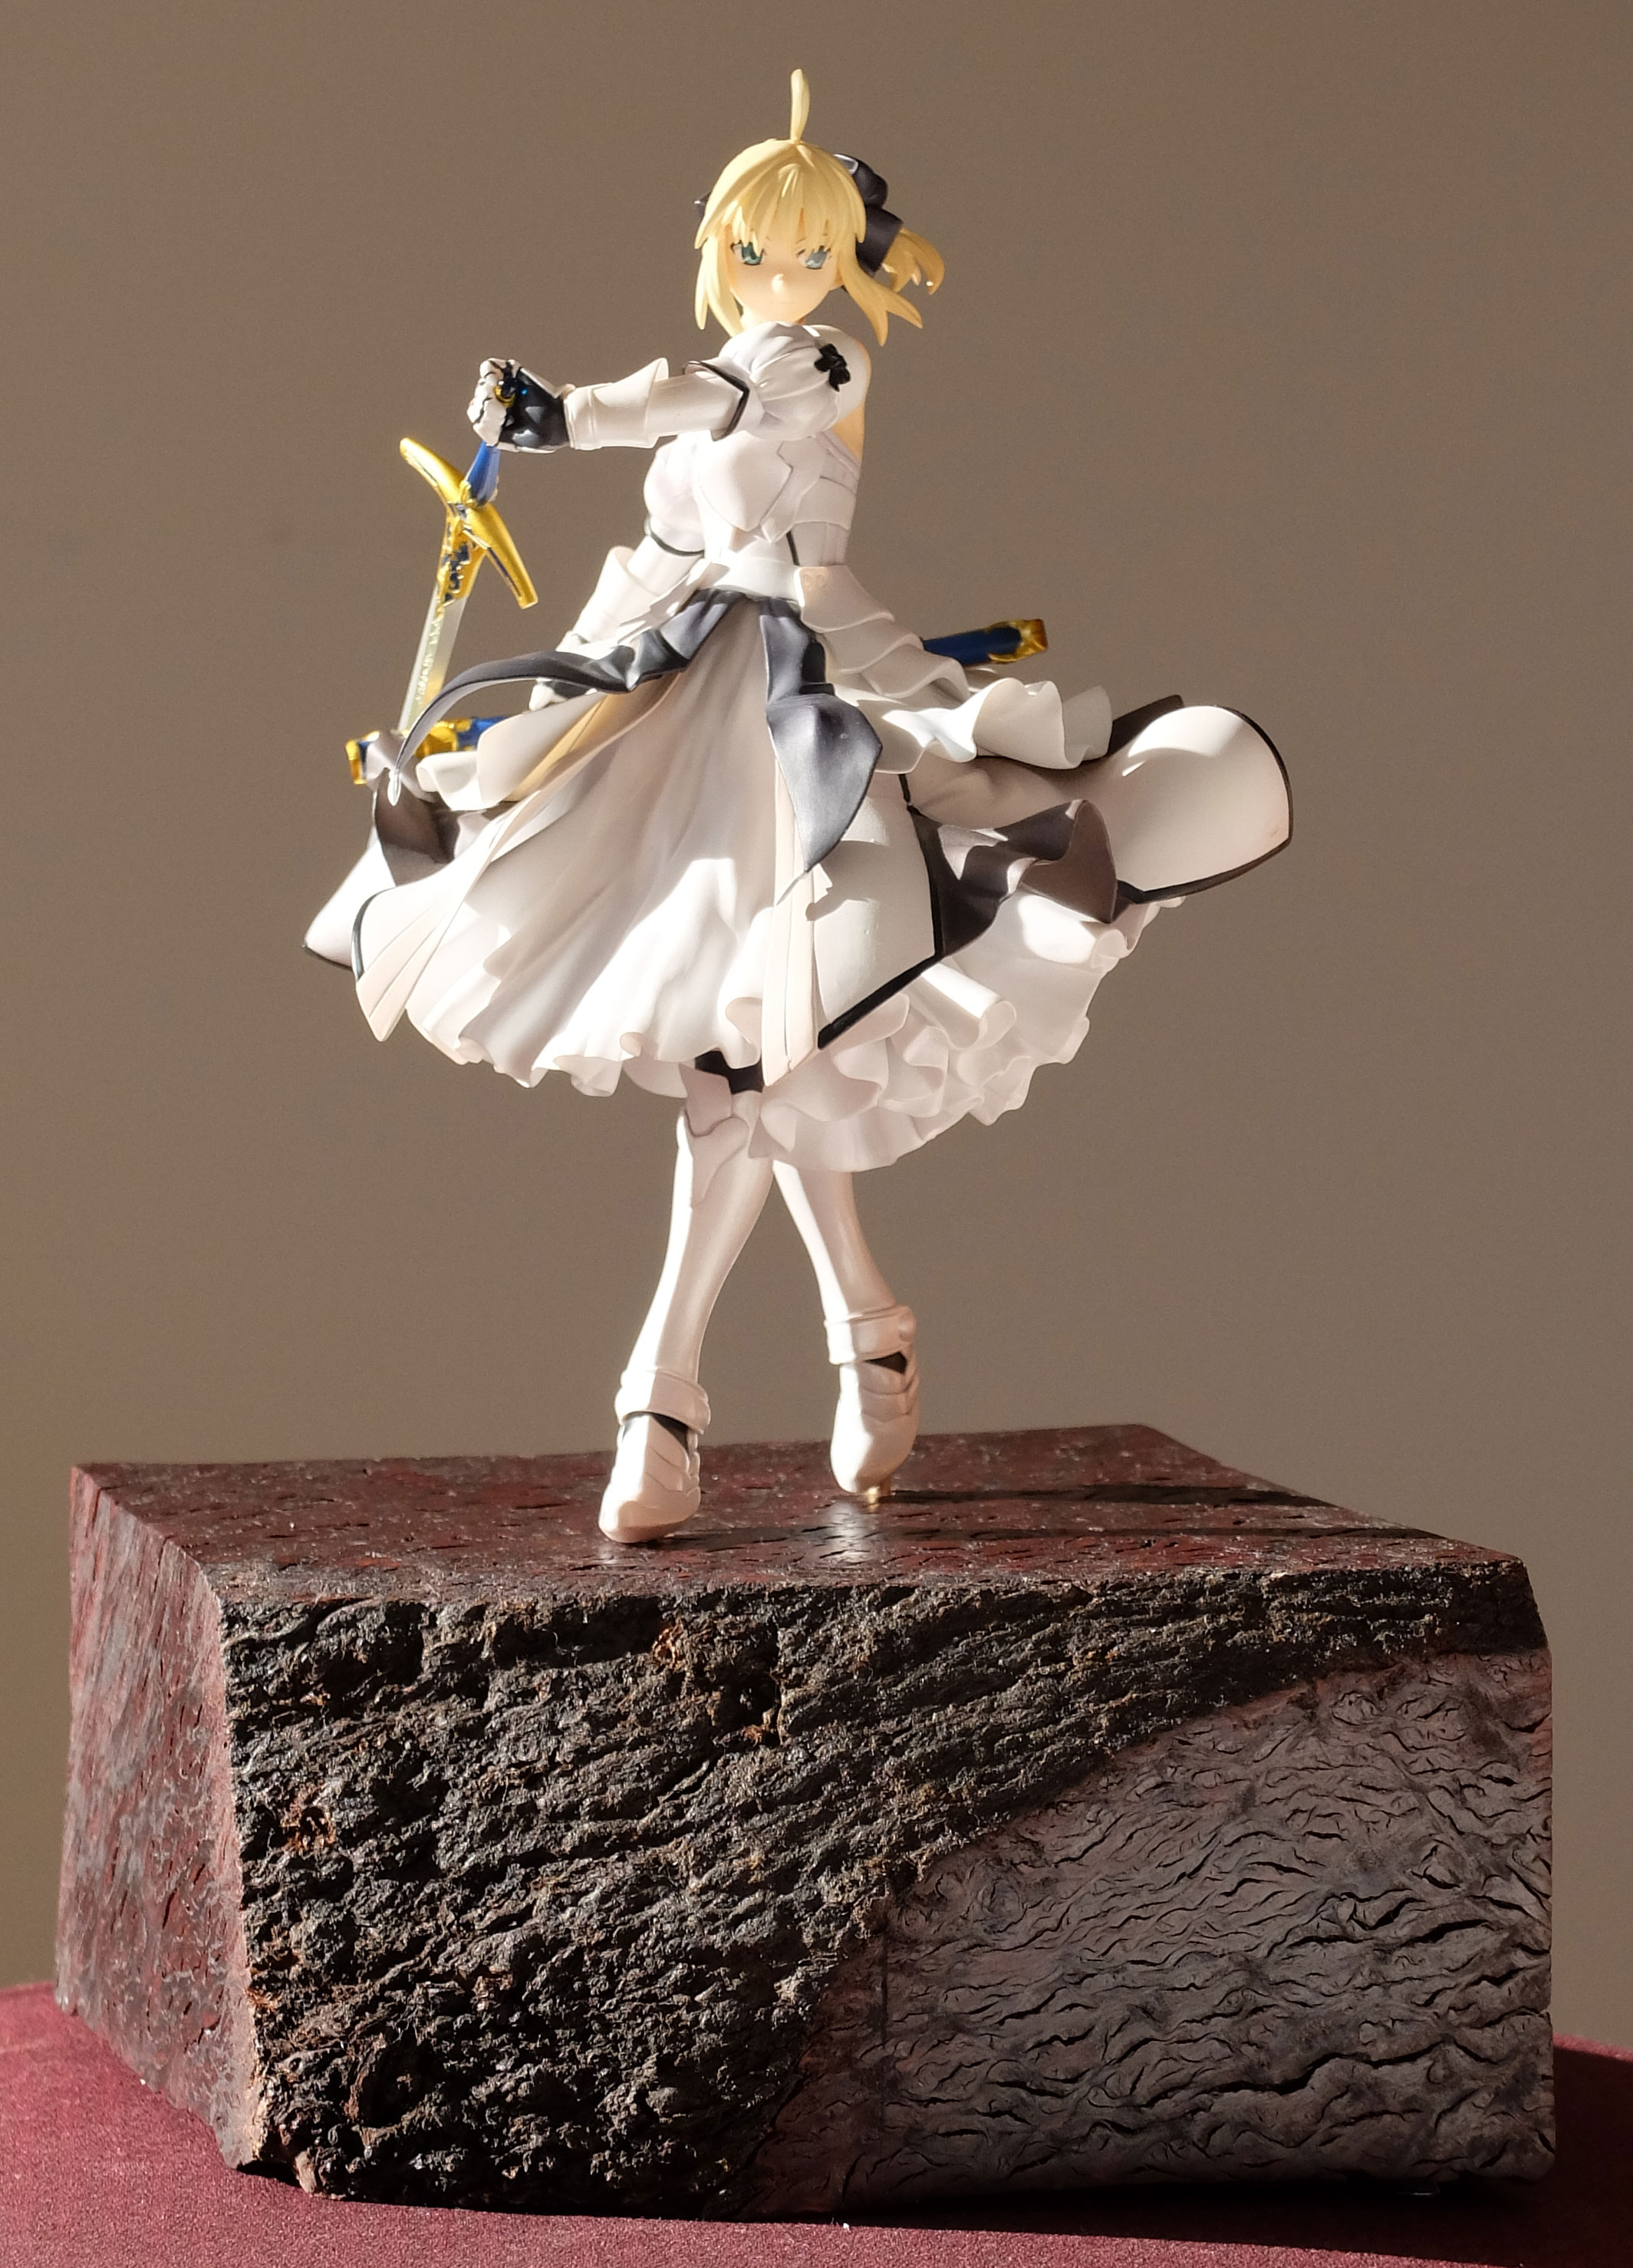
The pegs on the original base for Saber Lily had gotten weak and broken off. I think the table it was on would slightly sway from footsteps in the room, and as the figure swayed the pegs weakened until it broke off one day. Rather than repairing the base, I decided to make a heftier one out of wood and use brass pegs instead.
Removing Broken Pegs
The original plastic pegs had broken off inside of the figure's feet, so I had to extract them somehow. I ended up screwing in a coarse thread wood screw into the peg and pulling them out.
Wood
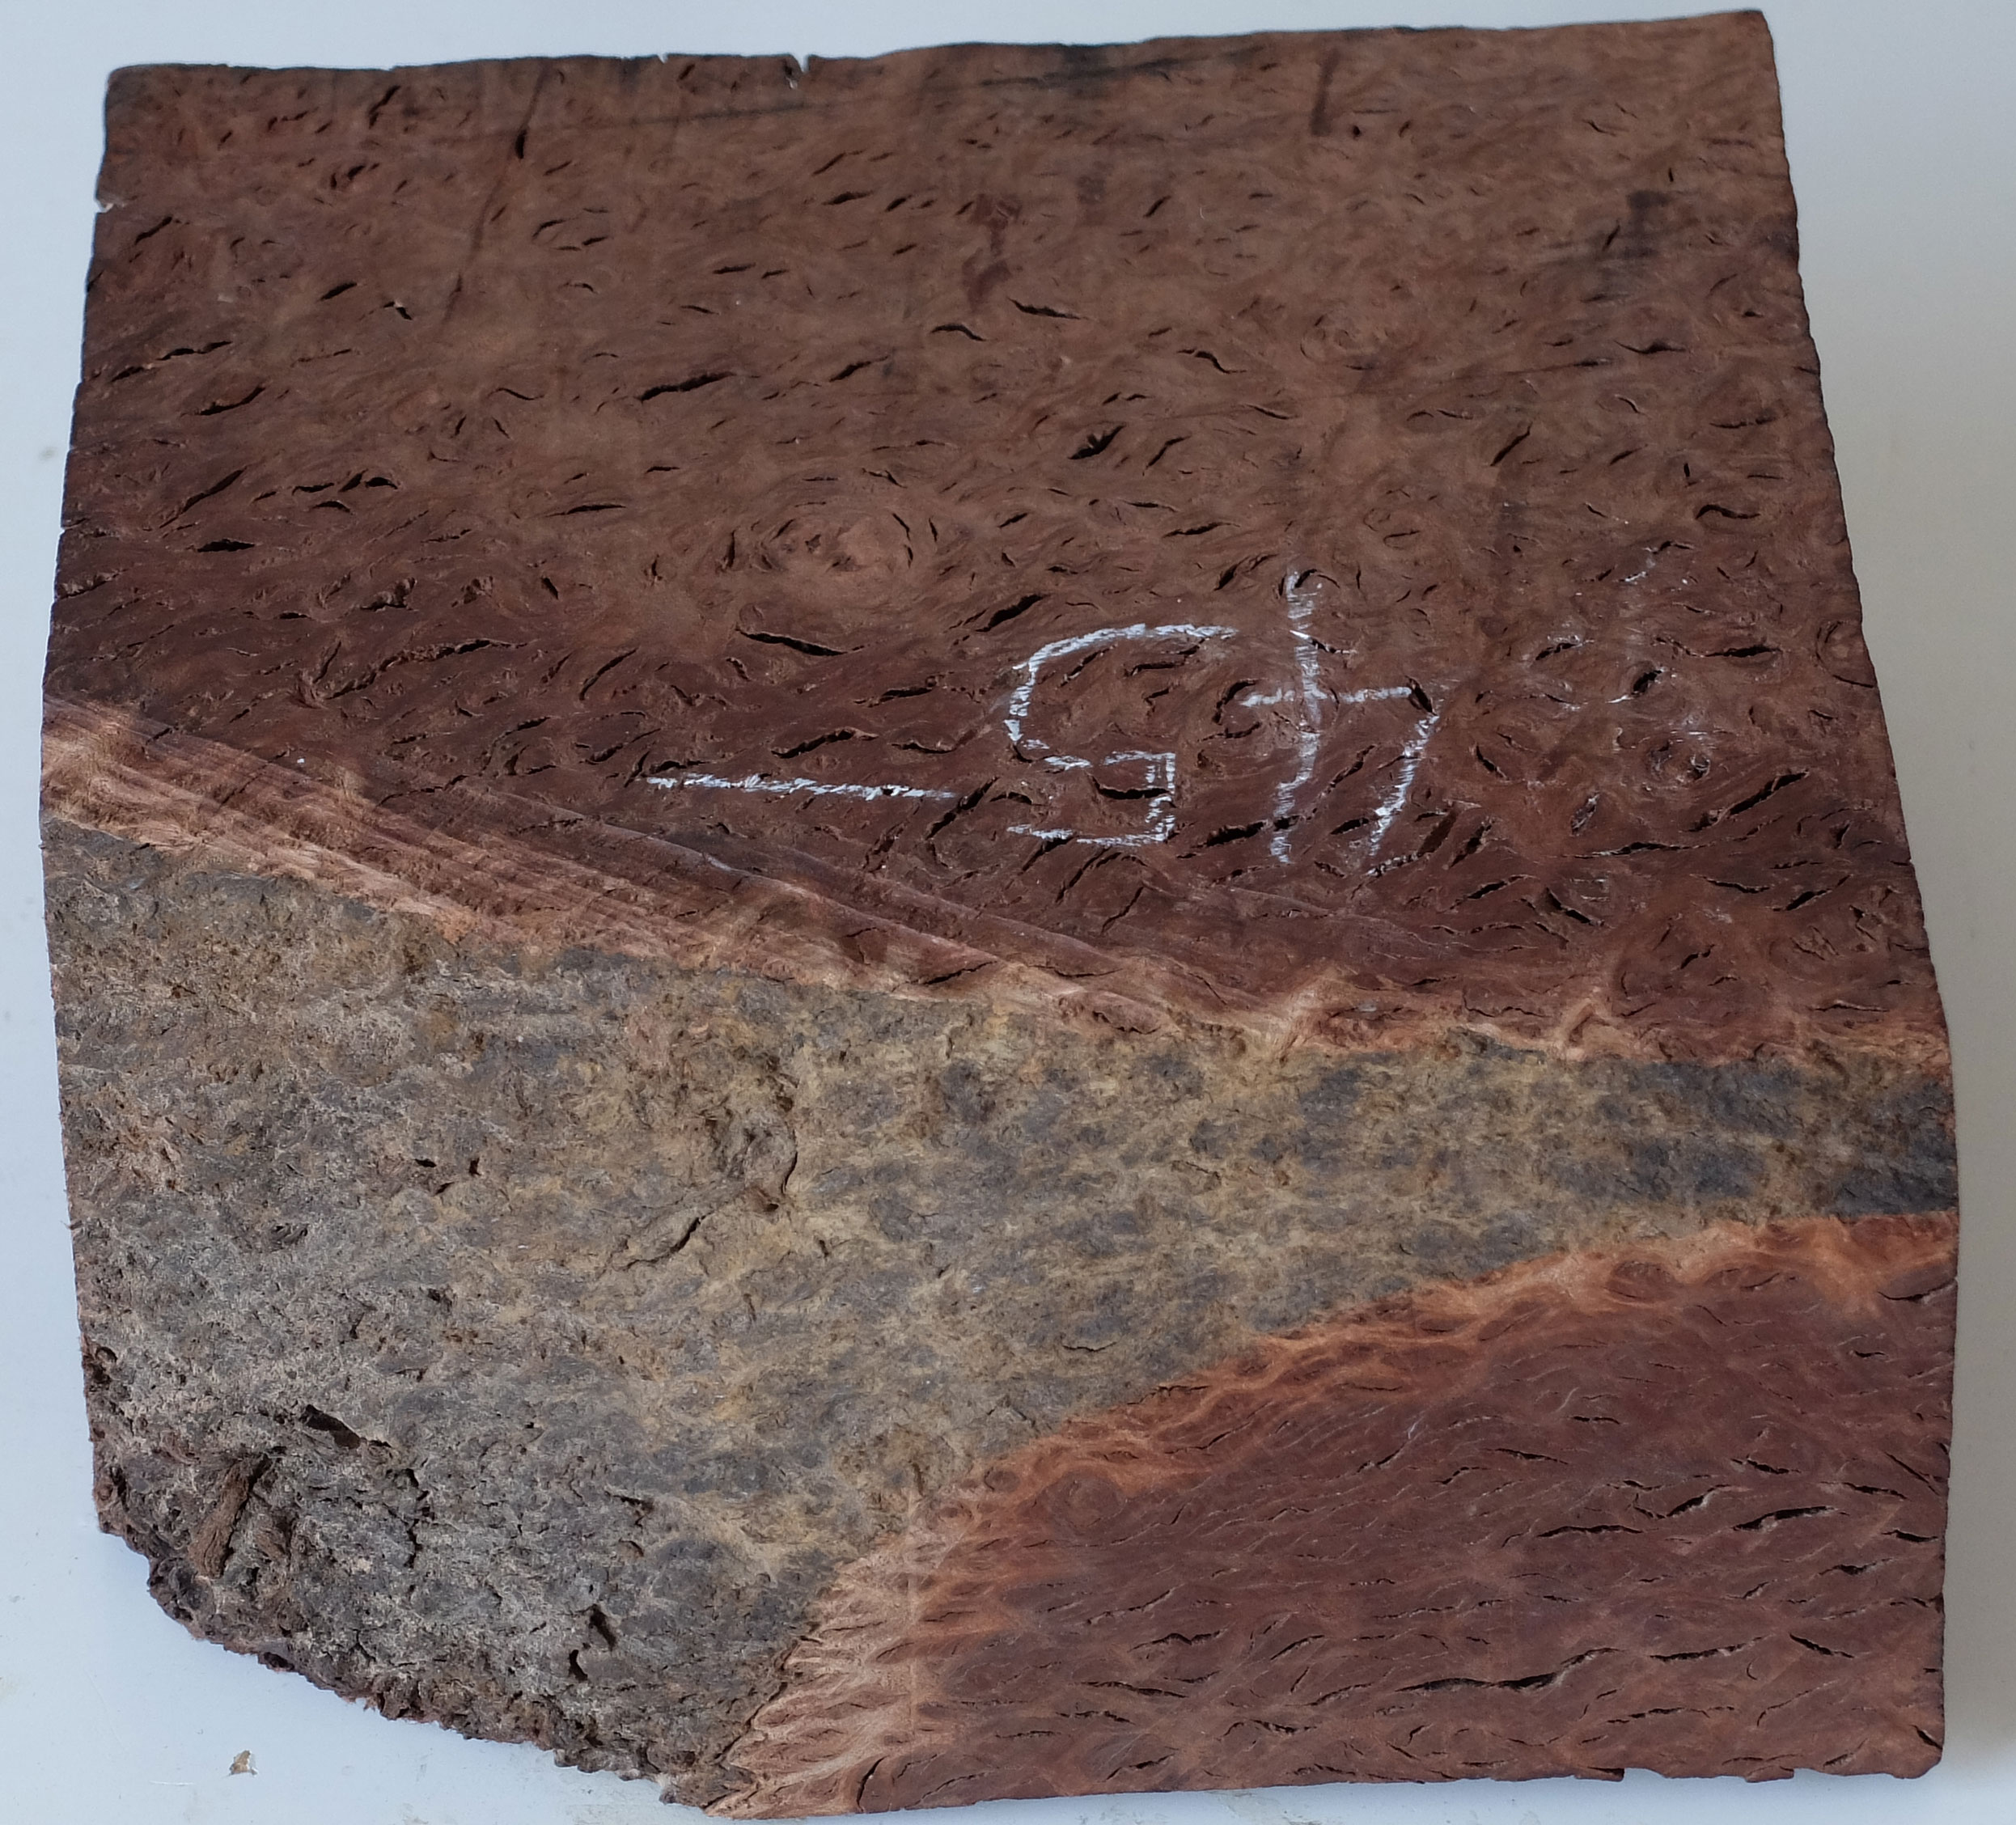
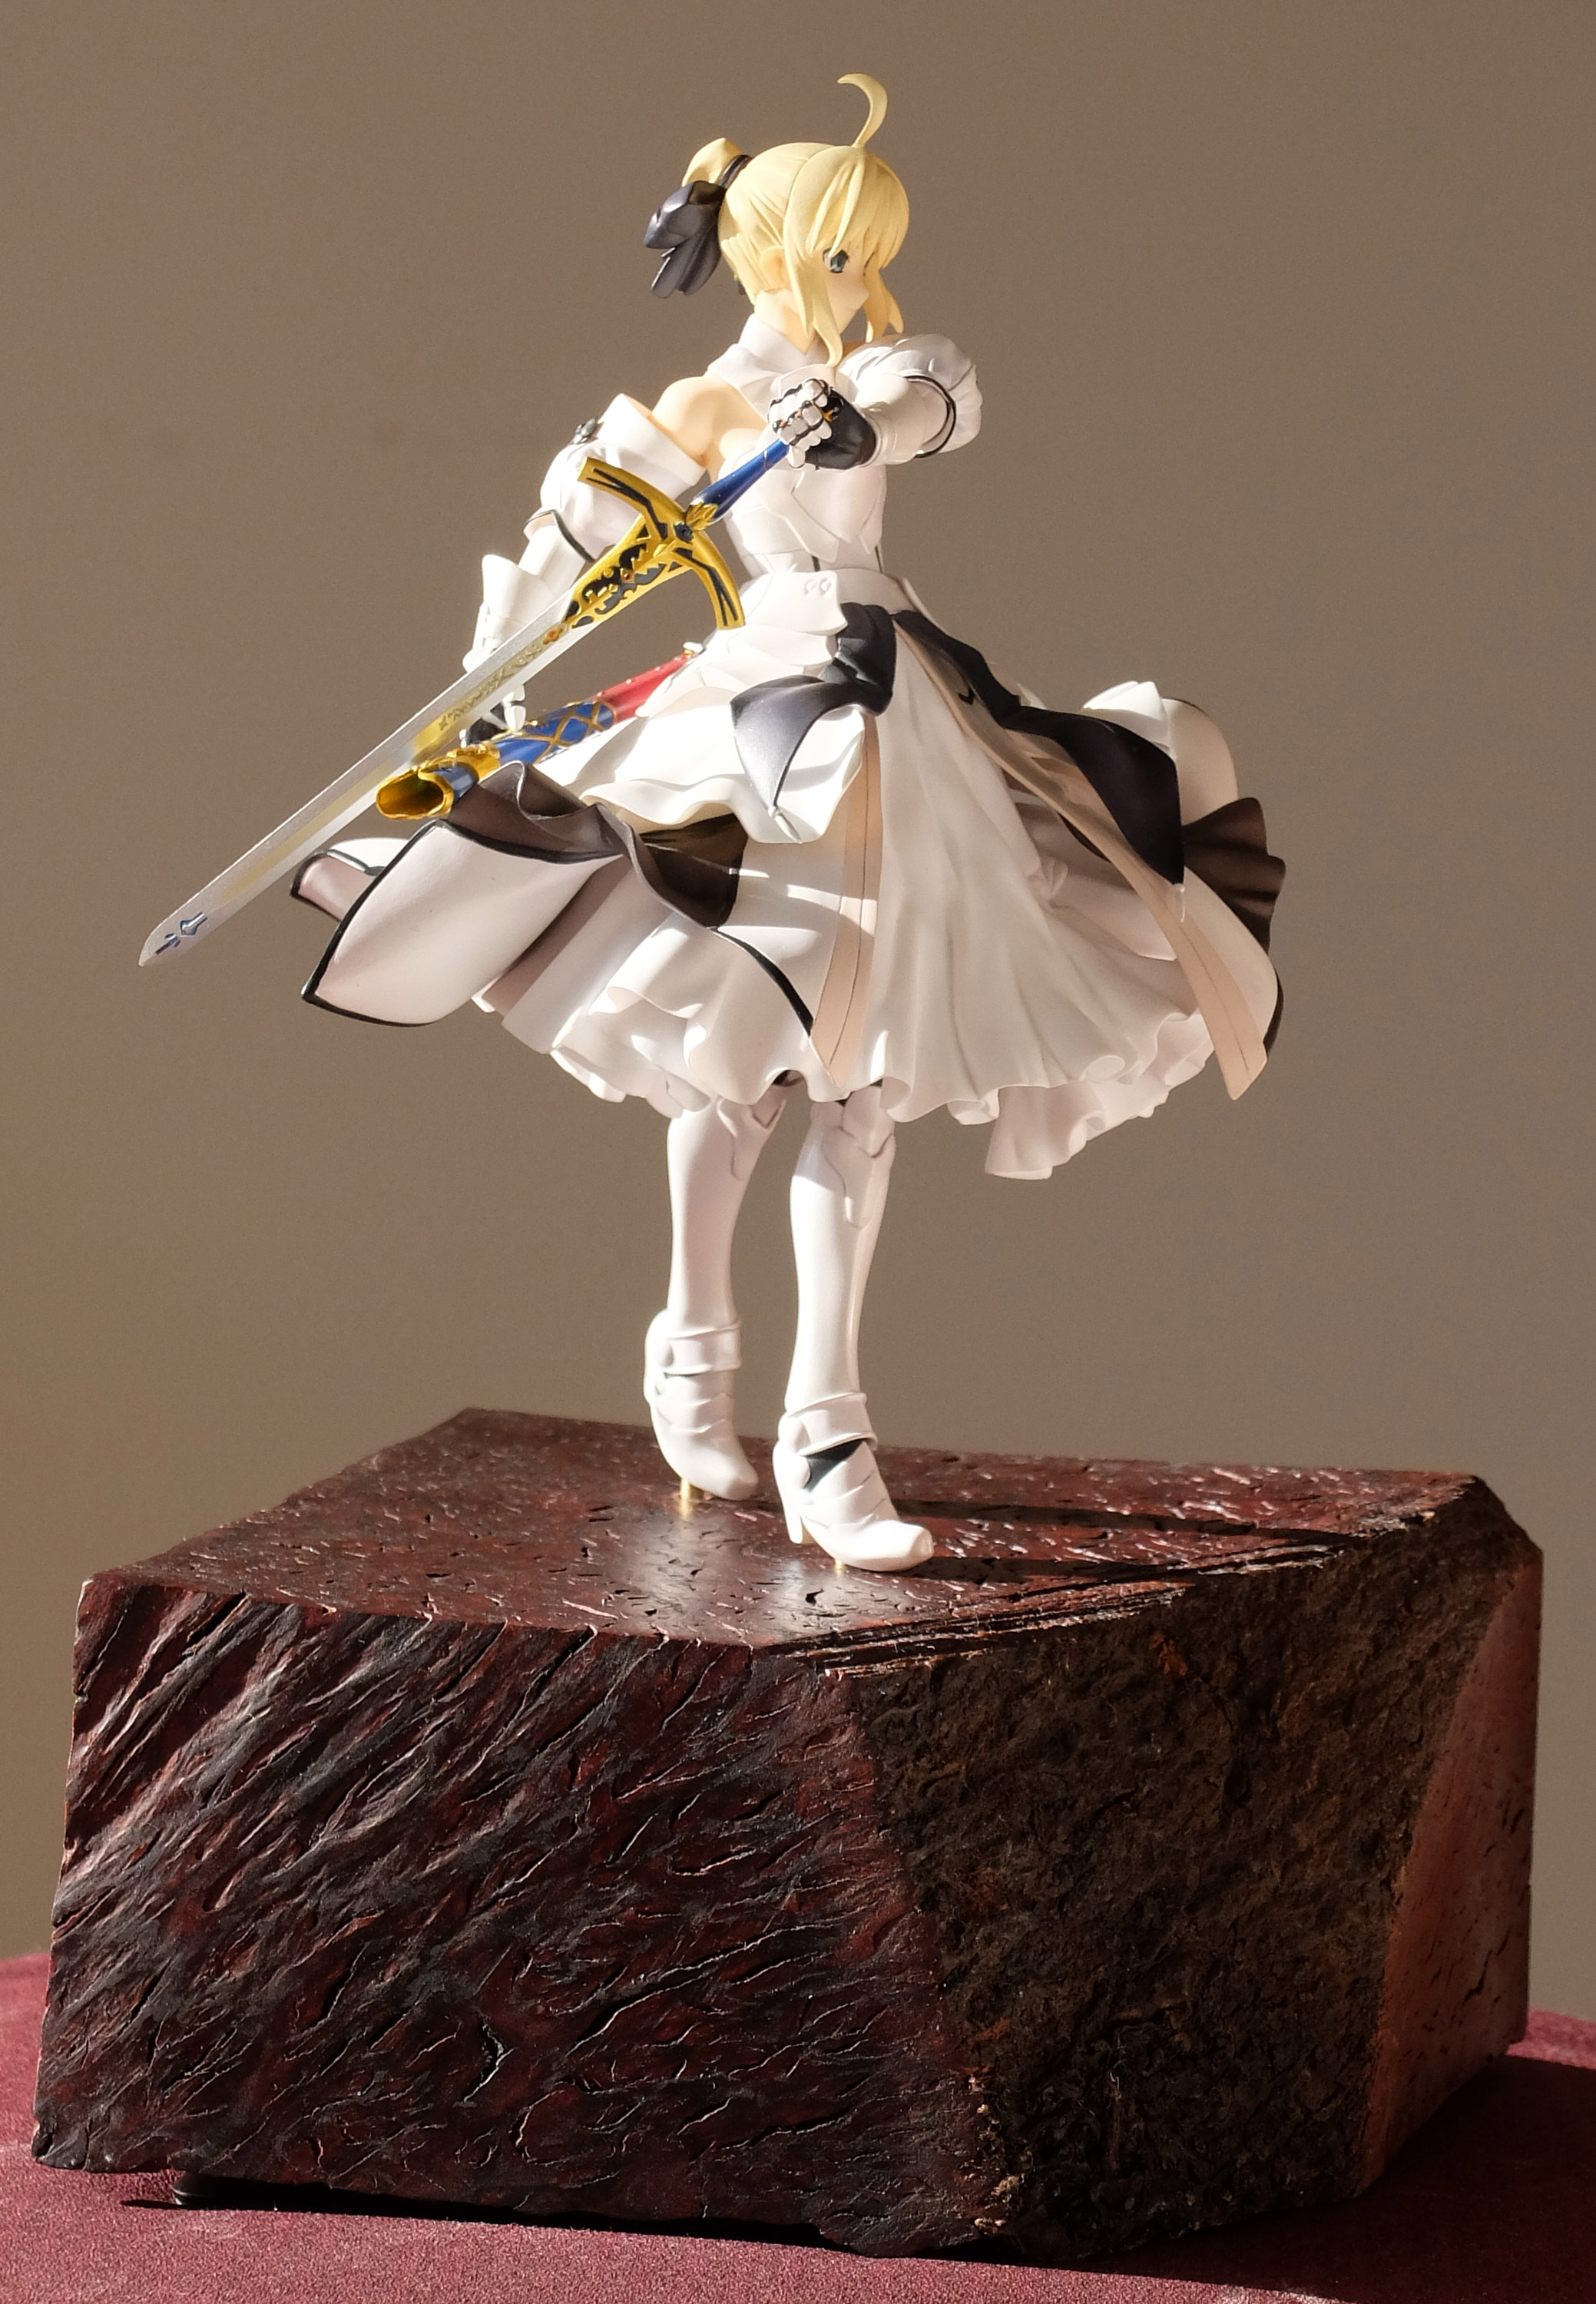
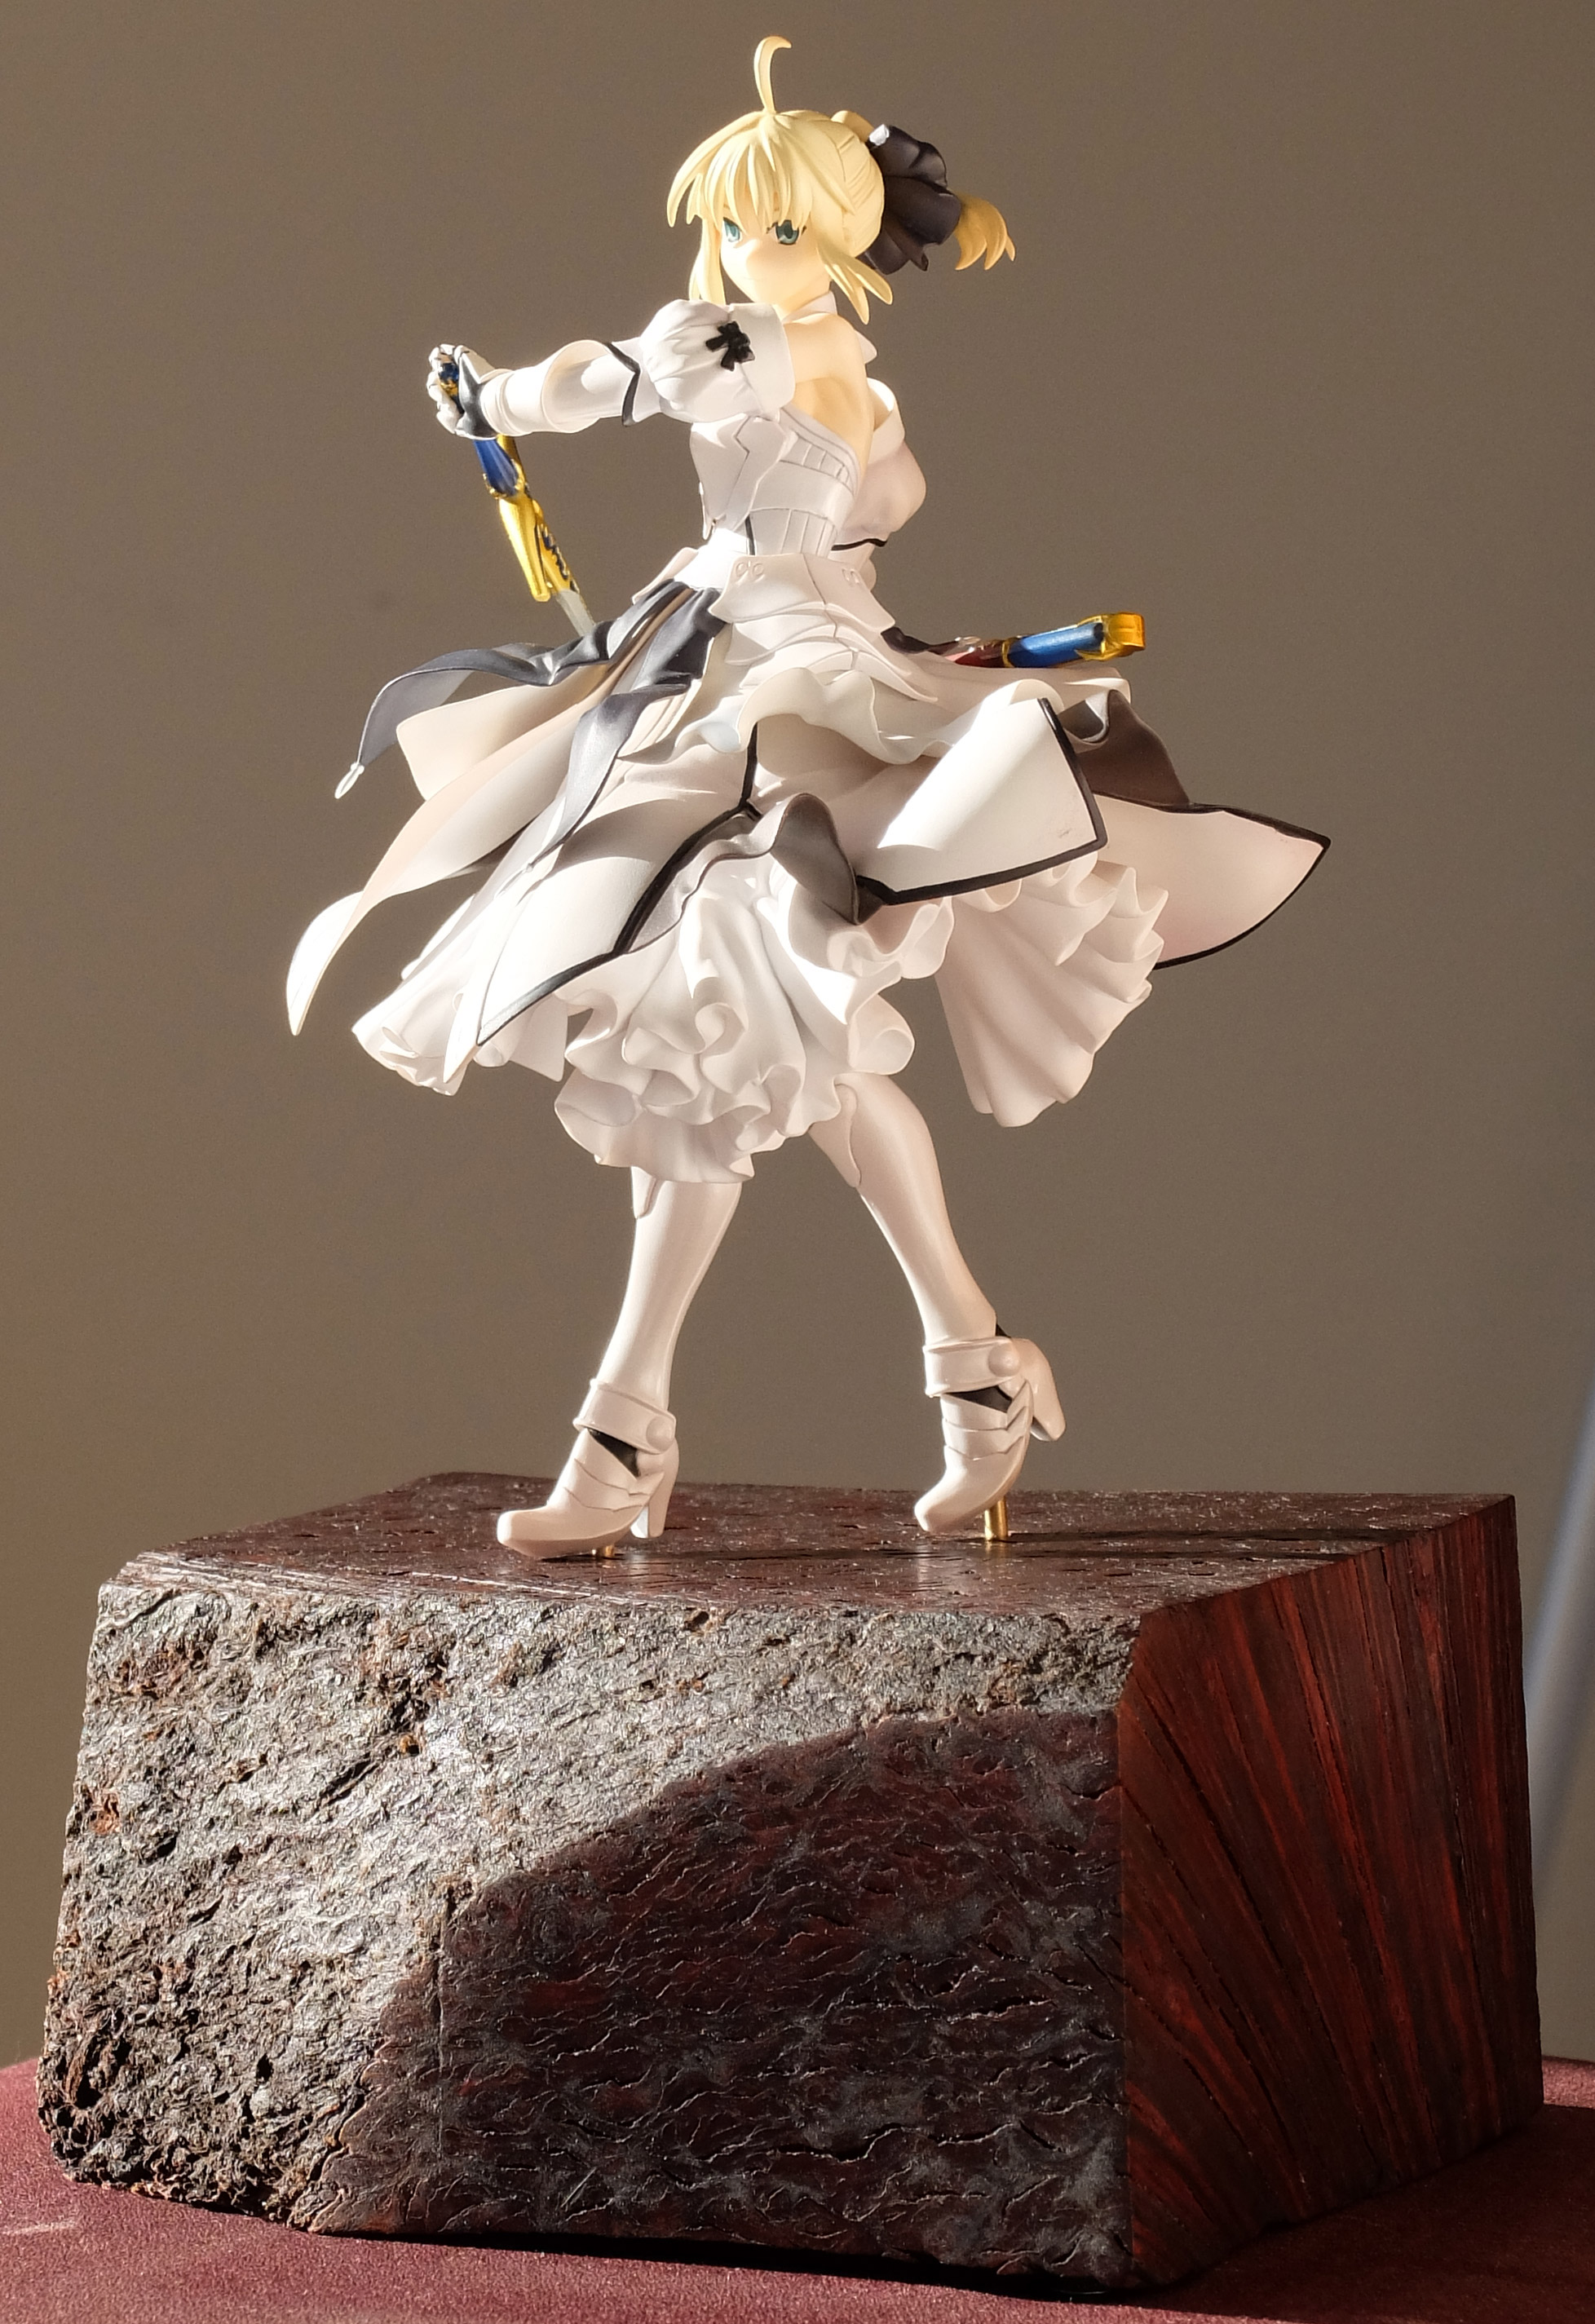
I saw this nice piece of Australian Jarrah burl at a hardwood store and thought it'd look great as a base. It had the look of a plateau with the bark as a cliff side. I also really liked the swirls in the wood. They had varying heights so it made the top of the piece look like textured terrain.
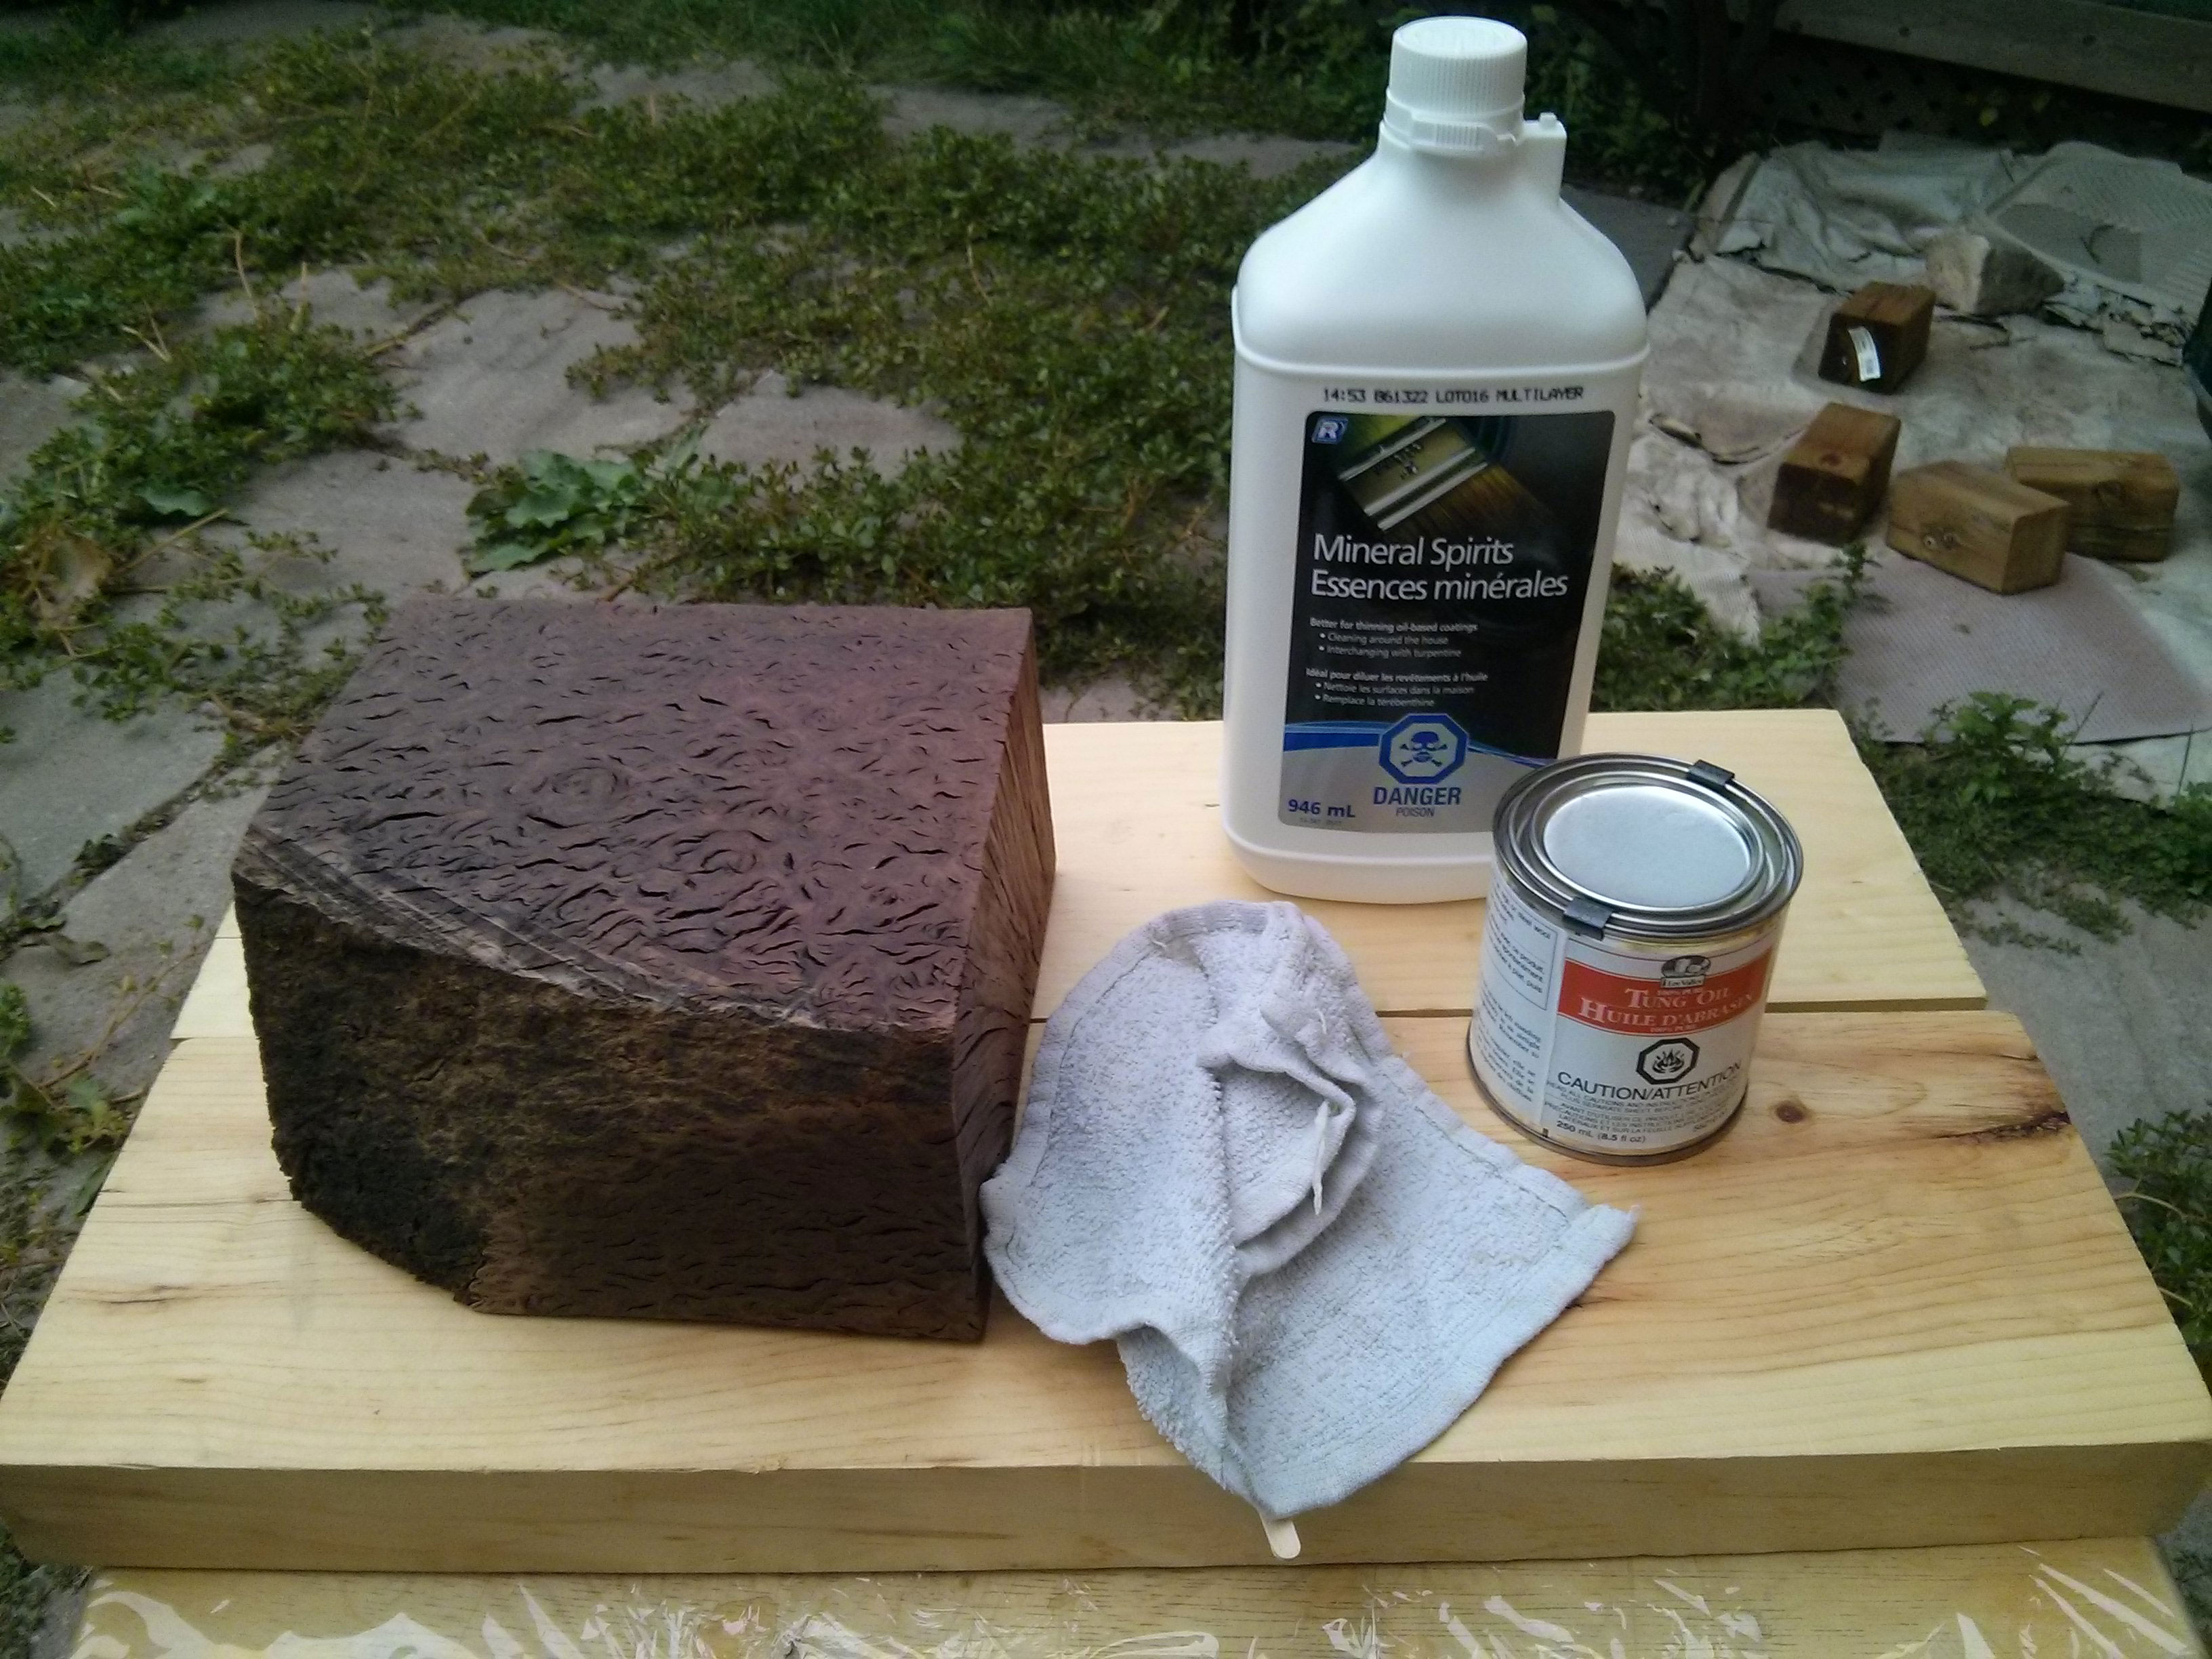
To prepare the wood, I first sanded using #000 steel wool, since the wood wasn't flat and was hard to sand with sandpaper. I then sanded with a sanding sponge which was also able to get around the bumps. I didn't realize how much tiny steel particles the steel wool would give off during sanding, so a lot of it got wedged into the swirls, but they got deep inside and weren't noticeable. I wiped and vacuumed the wood to get as much of the wood and steel shavings off.
I ended up deciding on using pure tung oil as the wood finish. I really liked the swirls in the wood and wanted to keep them pronounced. I mixed the first layer of pure tung oil with mineral spirits, a 50:50 mix. This allows the first layer to seep into the wood far better. I applied this coat, and the subsequent coats, with a rag. I let the coats dry for 2-3 days, though I applied the second coat far too thick, which took a week to dry. Lesson learned, pure tung oil requires thin coats.
I just want to note that there's a difference between pure tung oil and products called tung oil "finishes." Pure tung oil is just that, 100% tung oil. Tung oil "finishes" are mixes of products that offer a supposedly tung oil-like finish, and may not actually contain tung oil at all. There's also polymerised tung oil, which is a pre-heated tung oil which dries faster and shinier, and is mixed with thinner 50:50 to allow easier use.
Rags that were used with tung oil should be let to dry flat in an open area before discarding. The tung oil warms as it oxidises, and if the rag is crumpled up, it's possible to have spots get warm enough to self-combust.
In total I put one layer of 50:50 mix of mineral spirits and pure tung oil, and 3 layers of pure tung oil. This took just over a week of drying.
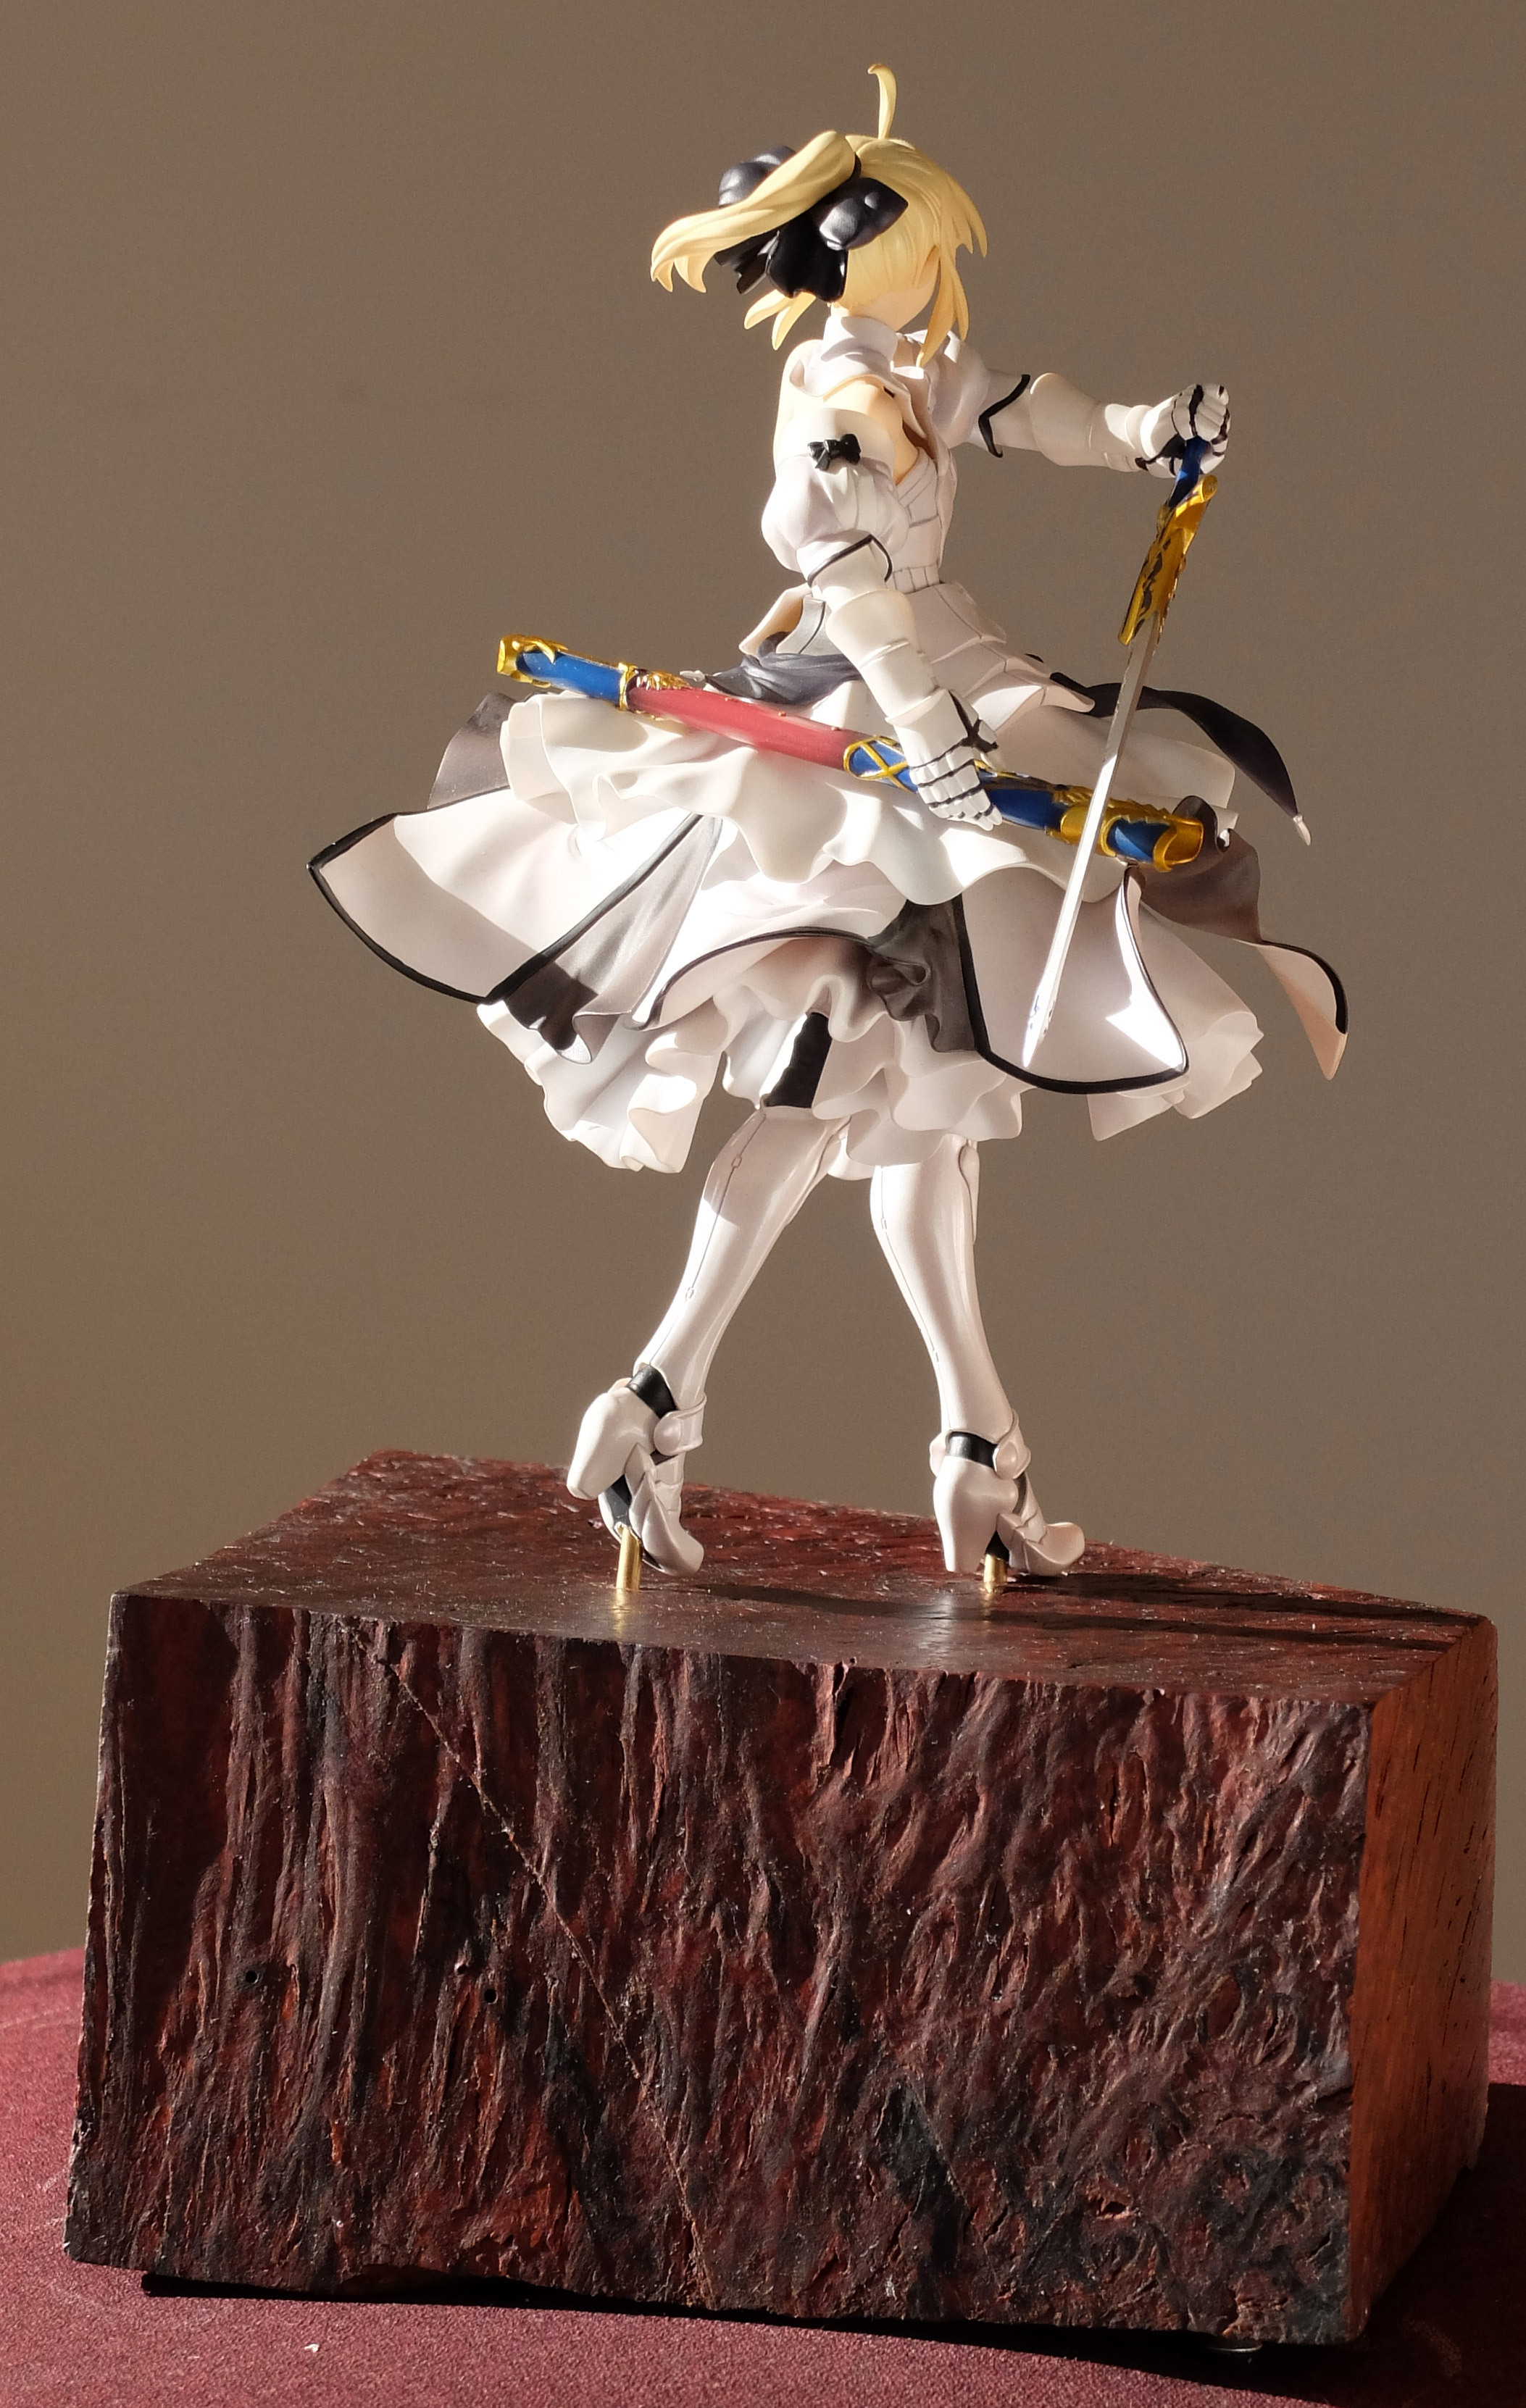
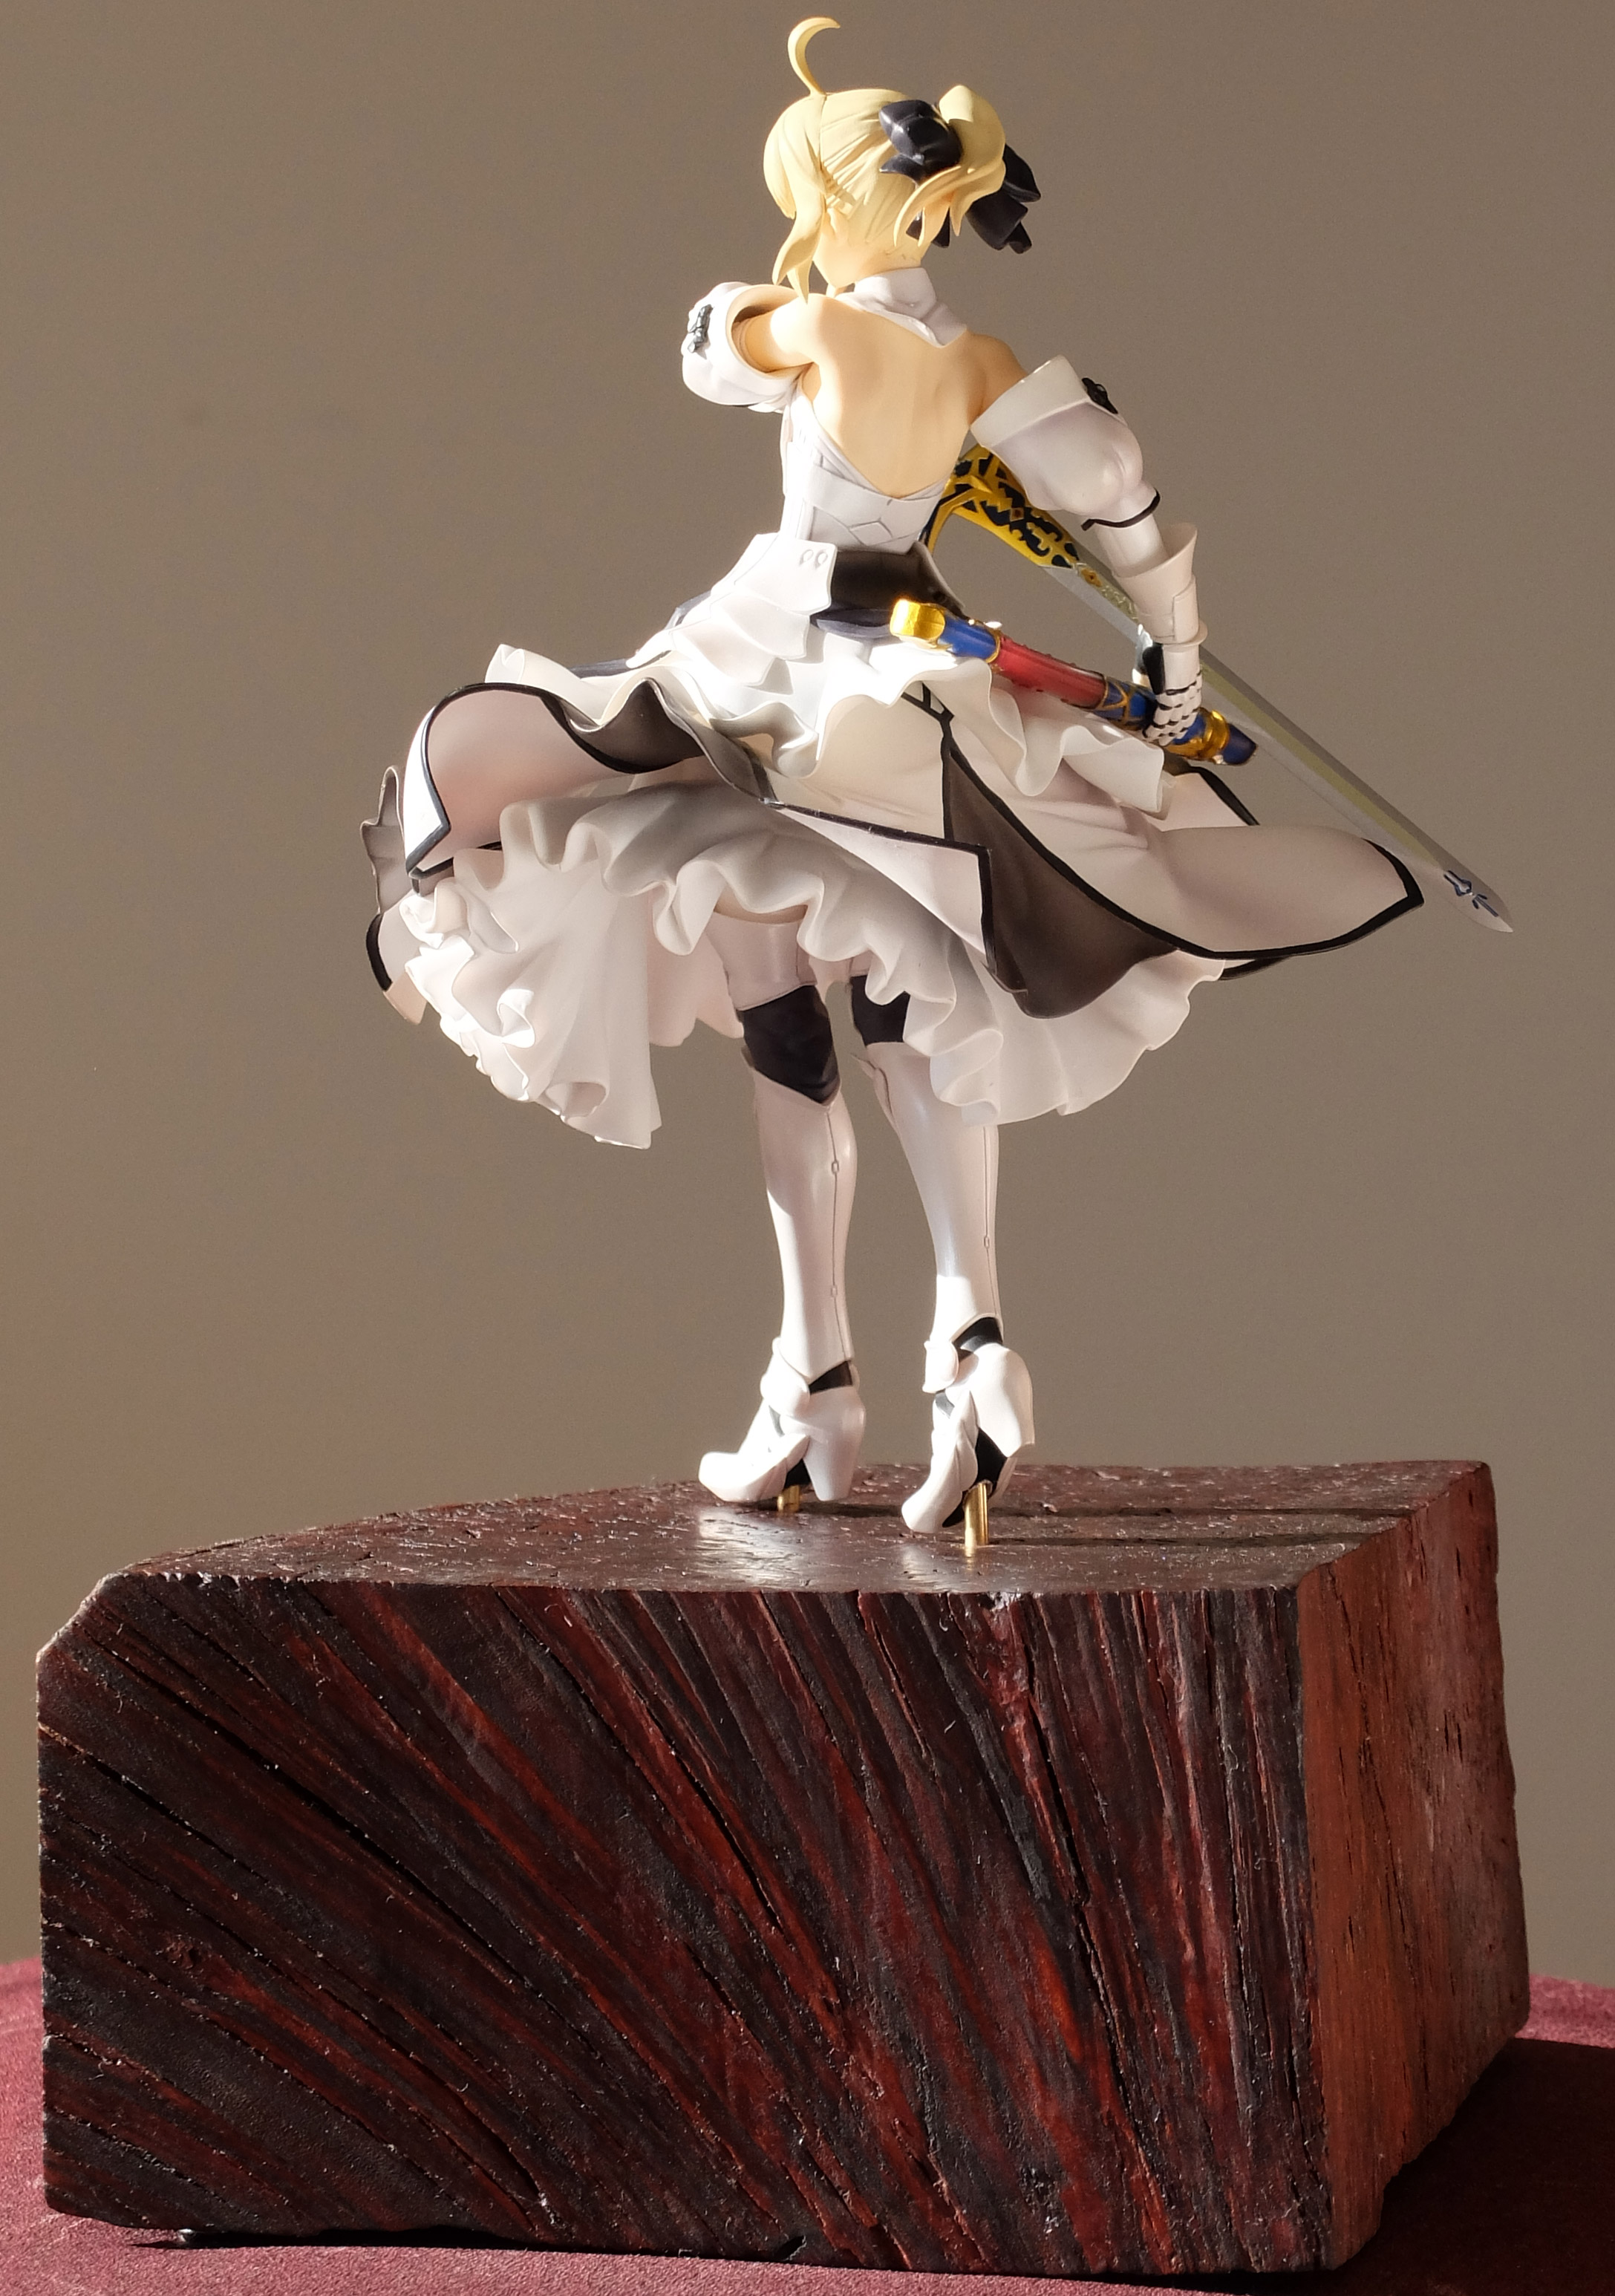
The tung oil darkened the wood more than I was expecting. In direct light the wood has nice red highlights, otherwise it looks dark brown to black.
Feet and Pegs
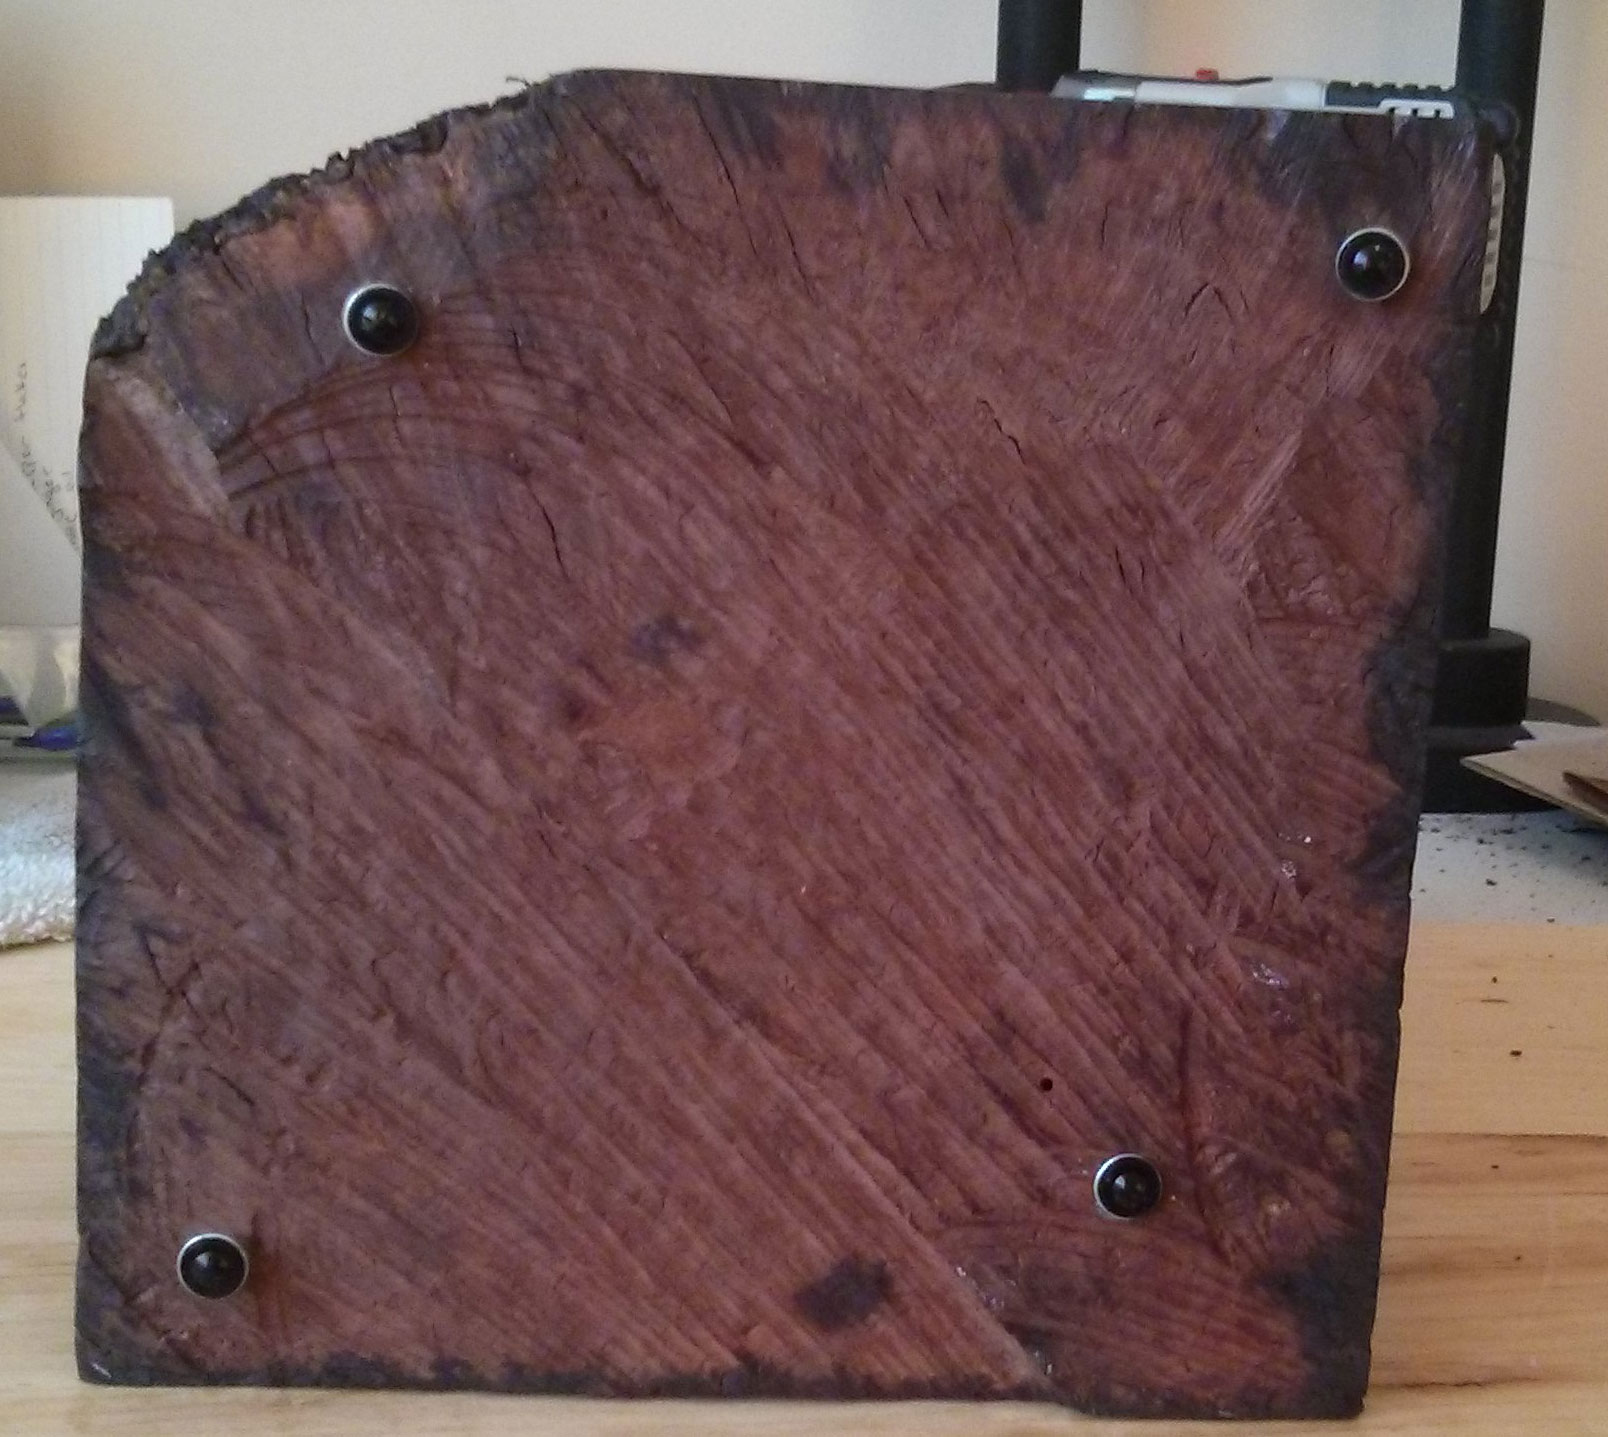
I needed to put some adjustable feet at the bottom of the wood to level it as it was very uneven. I pre-drilled holes and screwed in four wood screws. I adjusted them so the wood was flat and put adhesive rubber pads on them.
I got a 1/8" brass rod for the pegs. I drilled holes for the pegs on the top to be 1/8". I would've rather made it just a bit smaller, but the wood is very dense and doesn't really let anything squeeze in.
Fitting Pegs to Figure
I partly hand drilled and party power drilled using a 1/8" bit into the existing peg holes in the figure's feet. I tried going smaller but it was difficult to align them well enough. So I made them 1/8" to give some wiggle room. I used a calliper to measure the depth of the holes in the wood and the holes in the figure to figure out what length of brass rod to cut. I cut the rod using a hacksaw.
Conclusion
The base turned out darker than I'd hoped but it looks great in contrast with the figure's lightness. The brass pegs hold the figure firmly in place and the weight of the base, roughly 5 pounds, means the figure isn't going to shake or topple over easily.
Photos
