Wooden Bookshelf Build
Building a bookshelf out of pine
I'd just decommissioned an old over-sized bookshelf and needed a new bookshelf to hold my books. A quick search of plans online turned up a well reviewed bookshelf that uses clamping force to hold itself together, http://www.instructables.com/id/Cheap-easy-low-waste-bookshelves/. It seemed like a good simple build so I gave it a shot and made a quick spec for the size I need.
Materials
- 4 of 1x8x3 pine for 4 shelves, so 2 of 1x8x6
- 4 of 1x4x4 pine for 4 posts
- 8 of 9-3/8"-long pieces of 1/4" threaded rod, so 3 of 32" threaded rod (zinc plated)
- 16 of 1/4" fender washers (zinc plated)
- 16 of acorn nuts (zinc plated)
- 1 of 1/4" wing nut (stainless steel, zinc plated was out-of-stock but can be used)
- 80, 100, and 150 grit of garnett for sanding
I used zinc plated as it was much cheaper than stainless-steel, but stainless-steel has a much nicer shine to it, so for some it may be worth the cost to use stainless-steel washers and nuts.
Tools
- Power or hand saw for wood. I used a powered mitre saw
- Power or hand saw for metal. I tried a dremel but found it easier to use a hacksaw
- Drill and 9/32" drill bit for wood
- Two 7/16" sockets/wrenches or adjustable wrenches
- Tape measure
- Square
- Pencil
- Level
- Gloves, eye and breathing protection for sanding
Measuring and Cutting Wood Shelves and Posts
Using the mitre saw, I cut the 1x8x6 pine to equal 1x8x3 pieces for the shelves.
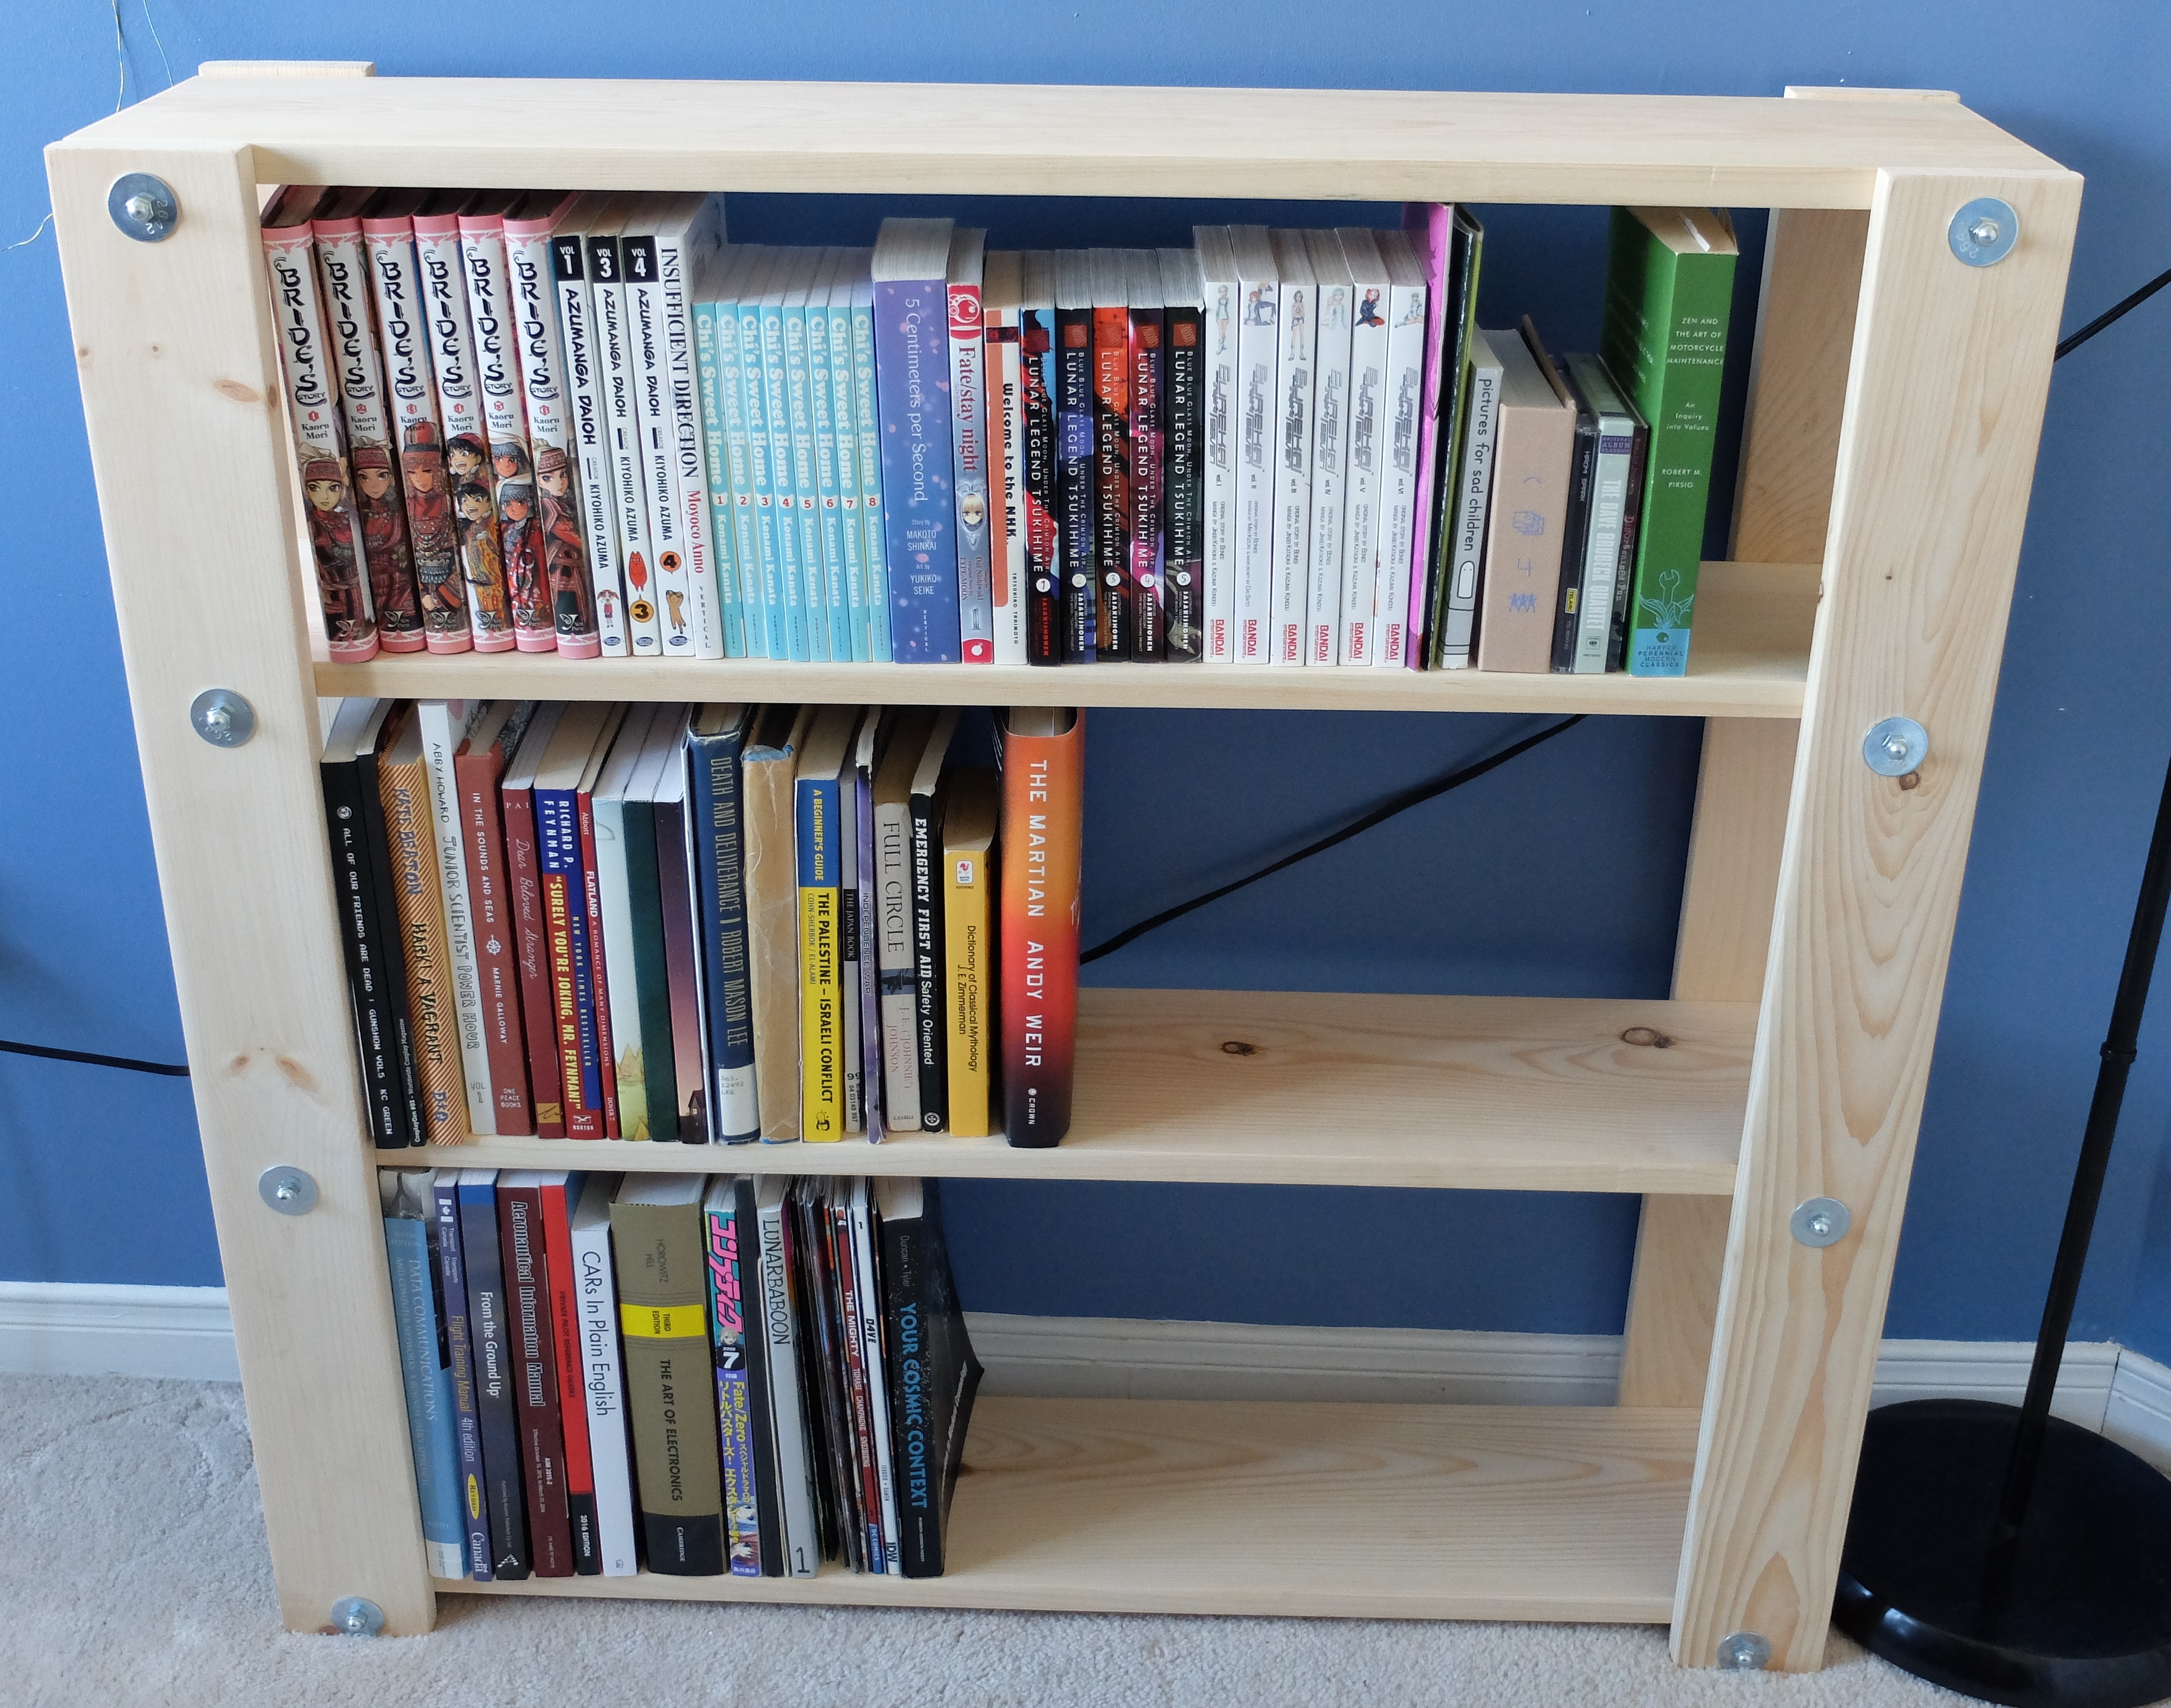
This shelf is 3 feet long, just under 3 feet tall, and just under 9 inches deep. I measured and cut most things relative to one another rather than drawing out specific dimensions. I wanted to make sure my large books would fit on the bottom shelf, medium in the middle, and smaller on the top, so I laid down the cut shelves and uncut posts onto the floor sideways, placed the reference books between the shelves, then moved the shelves as needed and measured the space needed. The shelves ended up being spaced roughly 11.5", 10.5", and 9.5" from bottom to top.
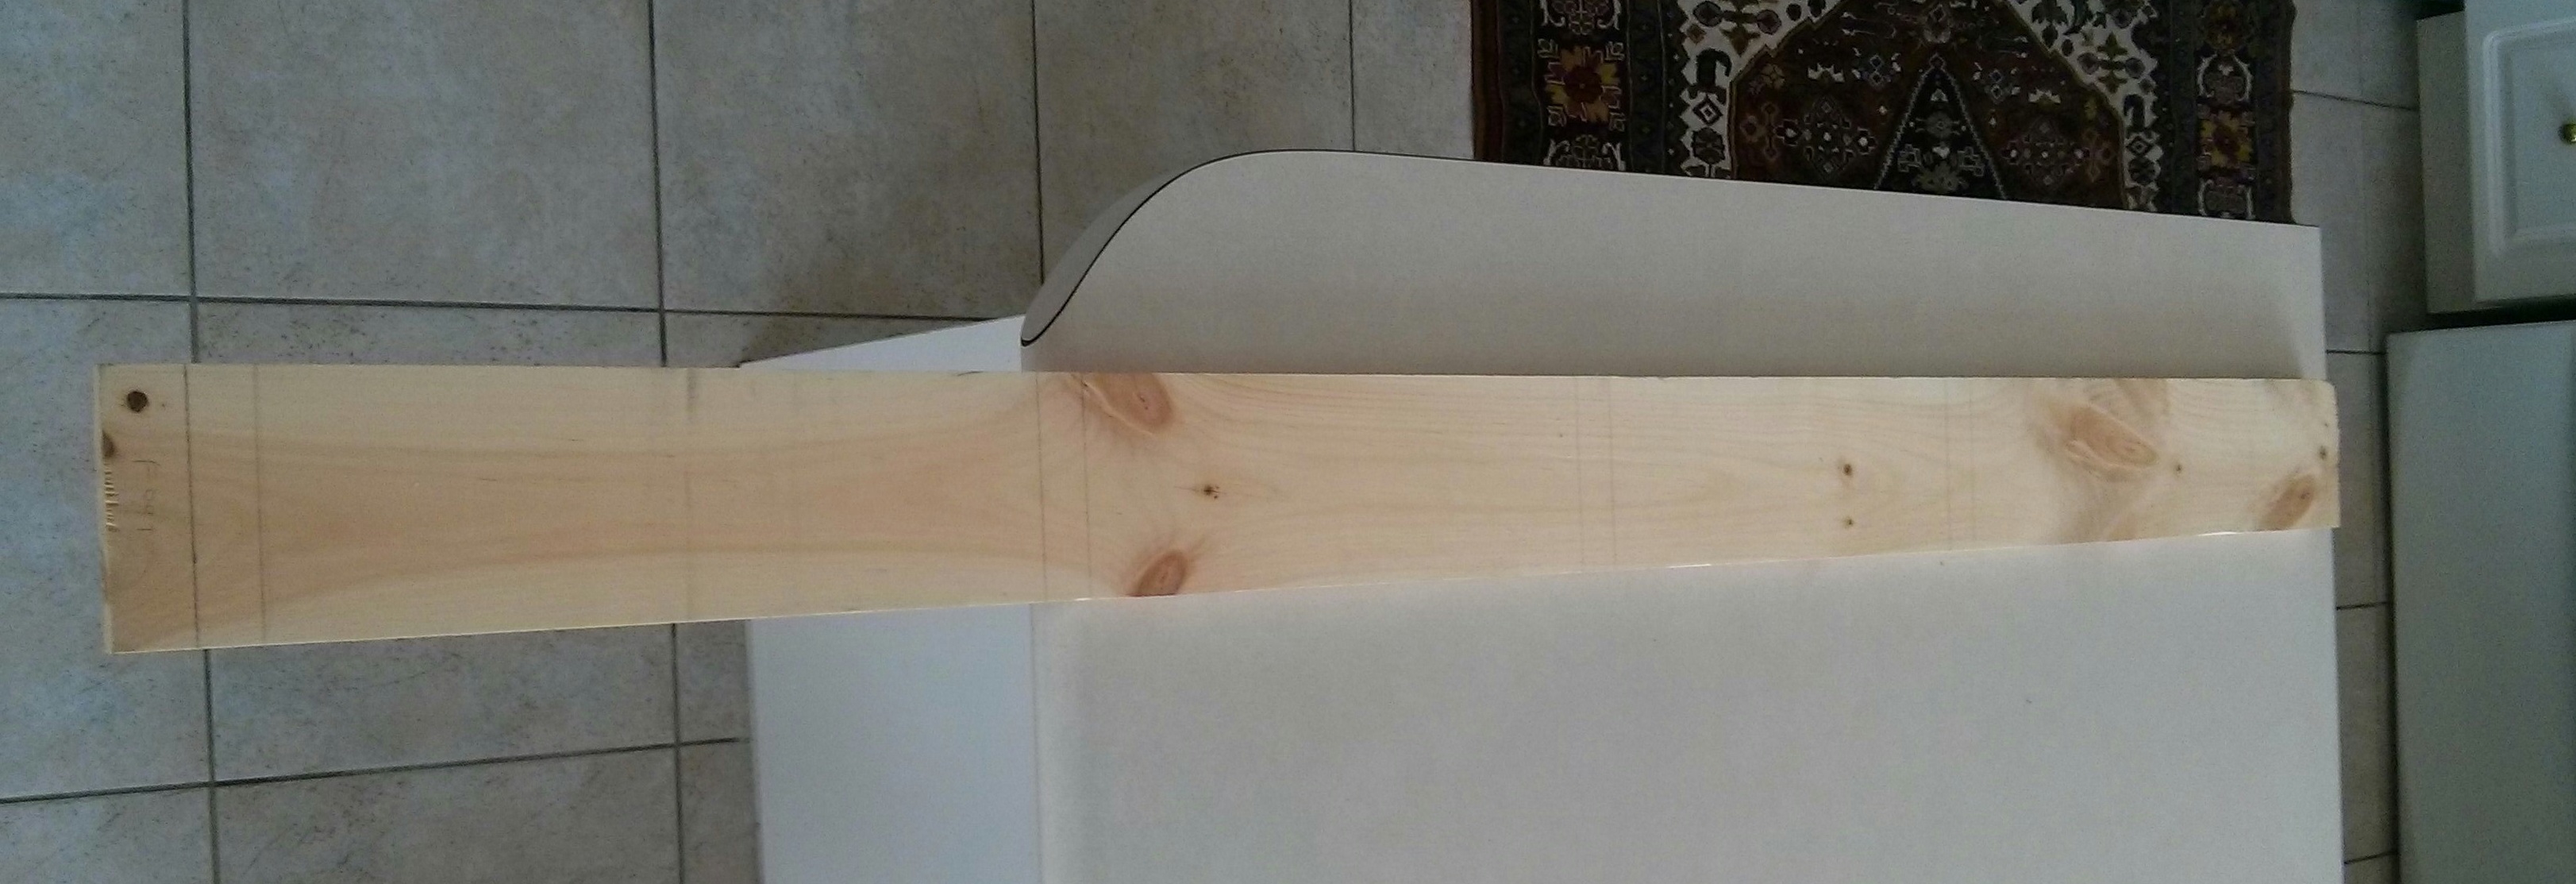
Using the previously measured shelf heights, taking into account the shelf thickness, and adding a 1" foot, I drew out the location of the shelves on the posts to figure out how long they needed to be cut to, which in my case was just under 3 feet. I cut them equally on the mitre saw. The following photo shows the shelves drawn on the posts. Four shelves and waste to be cut at the top.
Now the holes for the threaded rods need to be drilled in the posts. I measured and marked the middle of the shelf width, then placed the drill bit backwards and drew a circle right under the shelf line to know where to drill. I did the same for each shelf on each post.
Measuring and Cutting Threaded Rods
Cutting the threaded rod to size was a pain. If it's too long, you won't be able to tighten the nuts down without breaking through them; if they're too short, you won't be able to clamp them enough. I roughly measured the length need by laying the wood down, putting a washer and acorn nut on one end, and a washer and wing nut on the other, and marked it just a thread or two smaller.
The threaded rods had to be clamped down to be able to cut. I didn't have a proper workbench with a vice, so I put the threaded rod between two pieces of scrap wood as not to ruin the thread, placed it on the edge of a table, and used a pair of F-clamps (can use C-clamps) to clamp the wood down to the desk. I started by using a dremel, but it burned through wheels quickly and threw sparks and heated the rod. I found it easier to use a hacksaw, but backwards, as trying to cut in the proper direction of the saw would end up catching and skipping on the rod. I didn't cut all the way through, roughly half way and rounded the other sides a bit, then bent the rod to snap it off. To re-align the threads at the cut end, I put the wing nut through the good end and twisted it through the cut end a few times.
After cutting 4 pieces of rod I put the shelf together to test the rod length and general stability. The rods turned out to be the right length, and even with just the clamping force of the 4 rods, the shelf was very stable and didn't budge at all.
I then cut the rest of the rods to size using the previous rods as a reference.
Sanding
I put all the rods and wood together as a sanity check before sanding, so I wouldn't end up spending time sanding wood that had to be re-cut or discarded. After confirming everything fit properly I proceeded to sand all the wood. I sanded using garnett, starting at 60 grit, going up to 100 grit, then finishing with 150 grit. I also rounded the edges of the shelves and posts while sanding which I think gives it a much nicer finished look. I considered covering the wood with polyurethane, but I quite liked the look of it just sanded, and skipped it this time.
Assembly
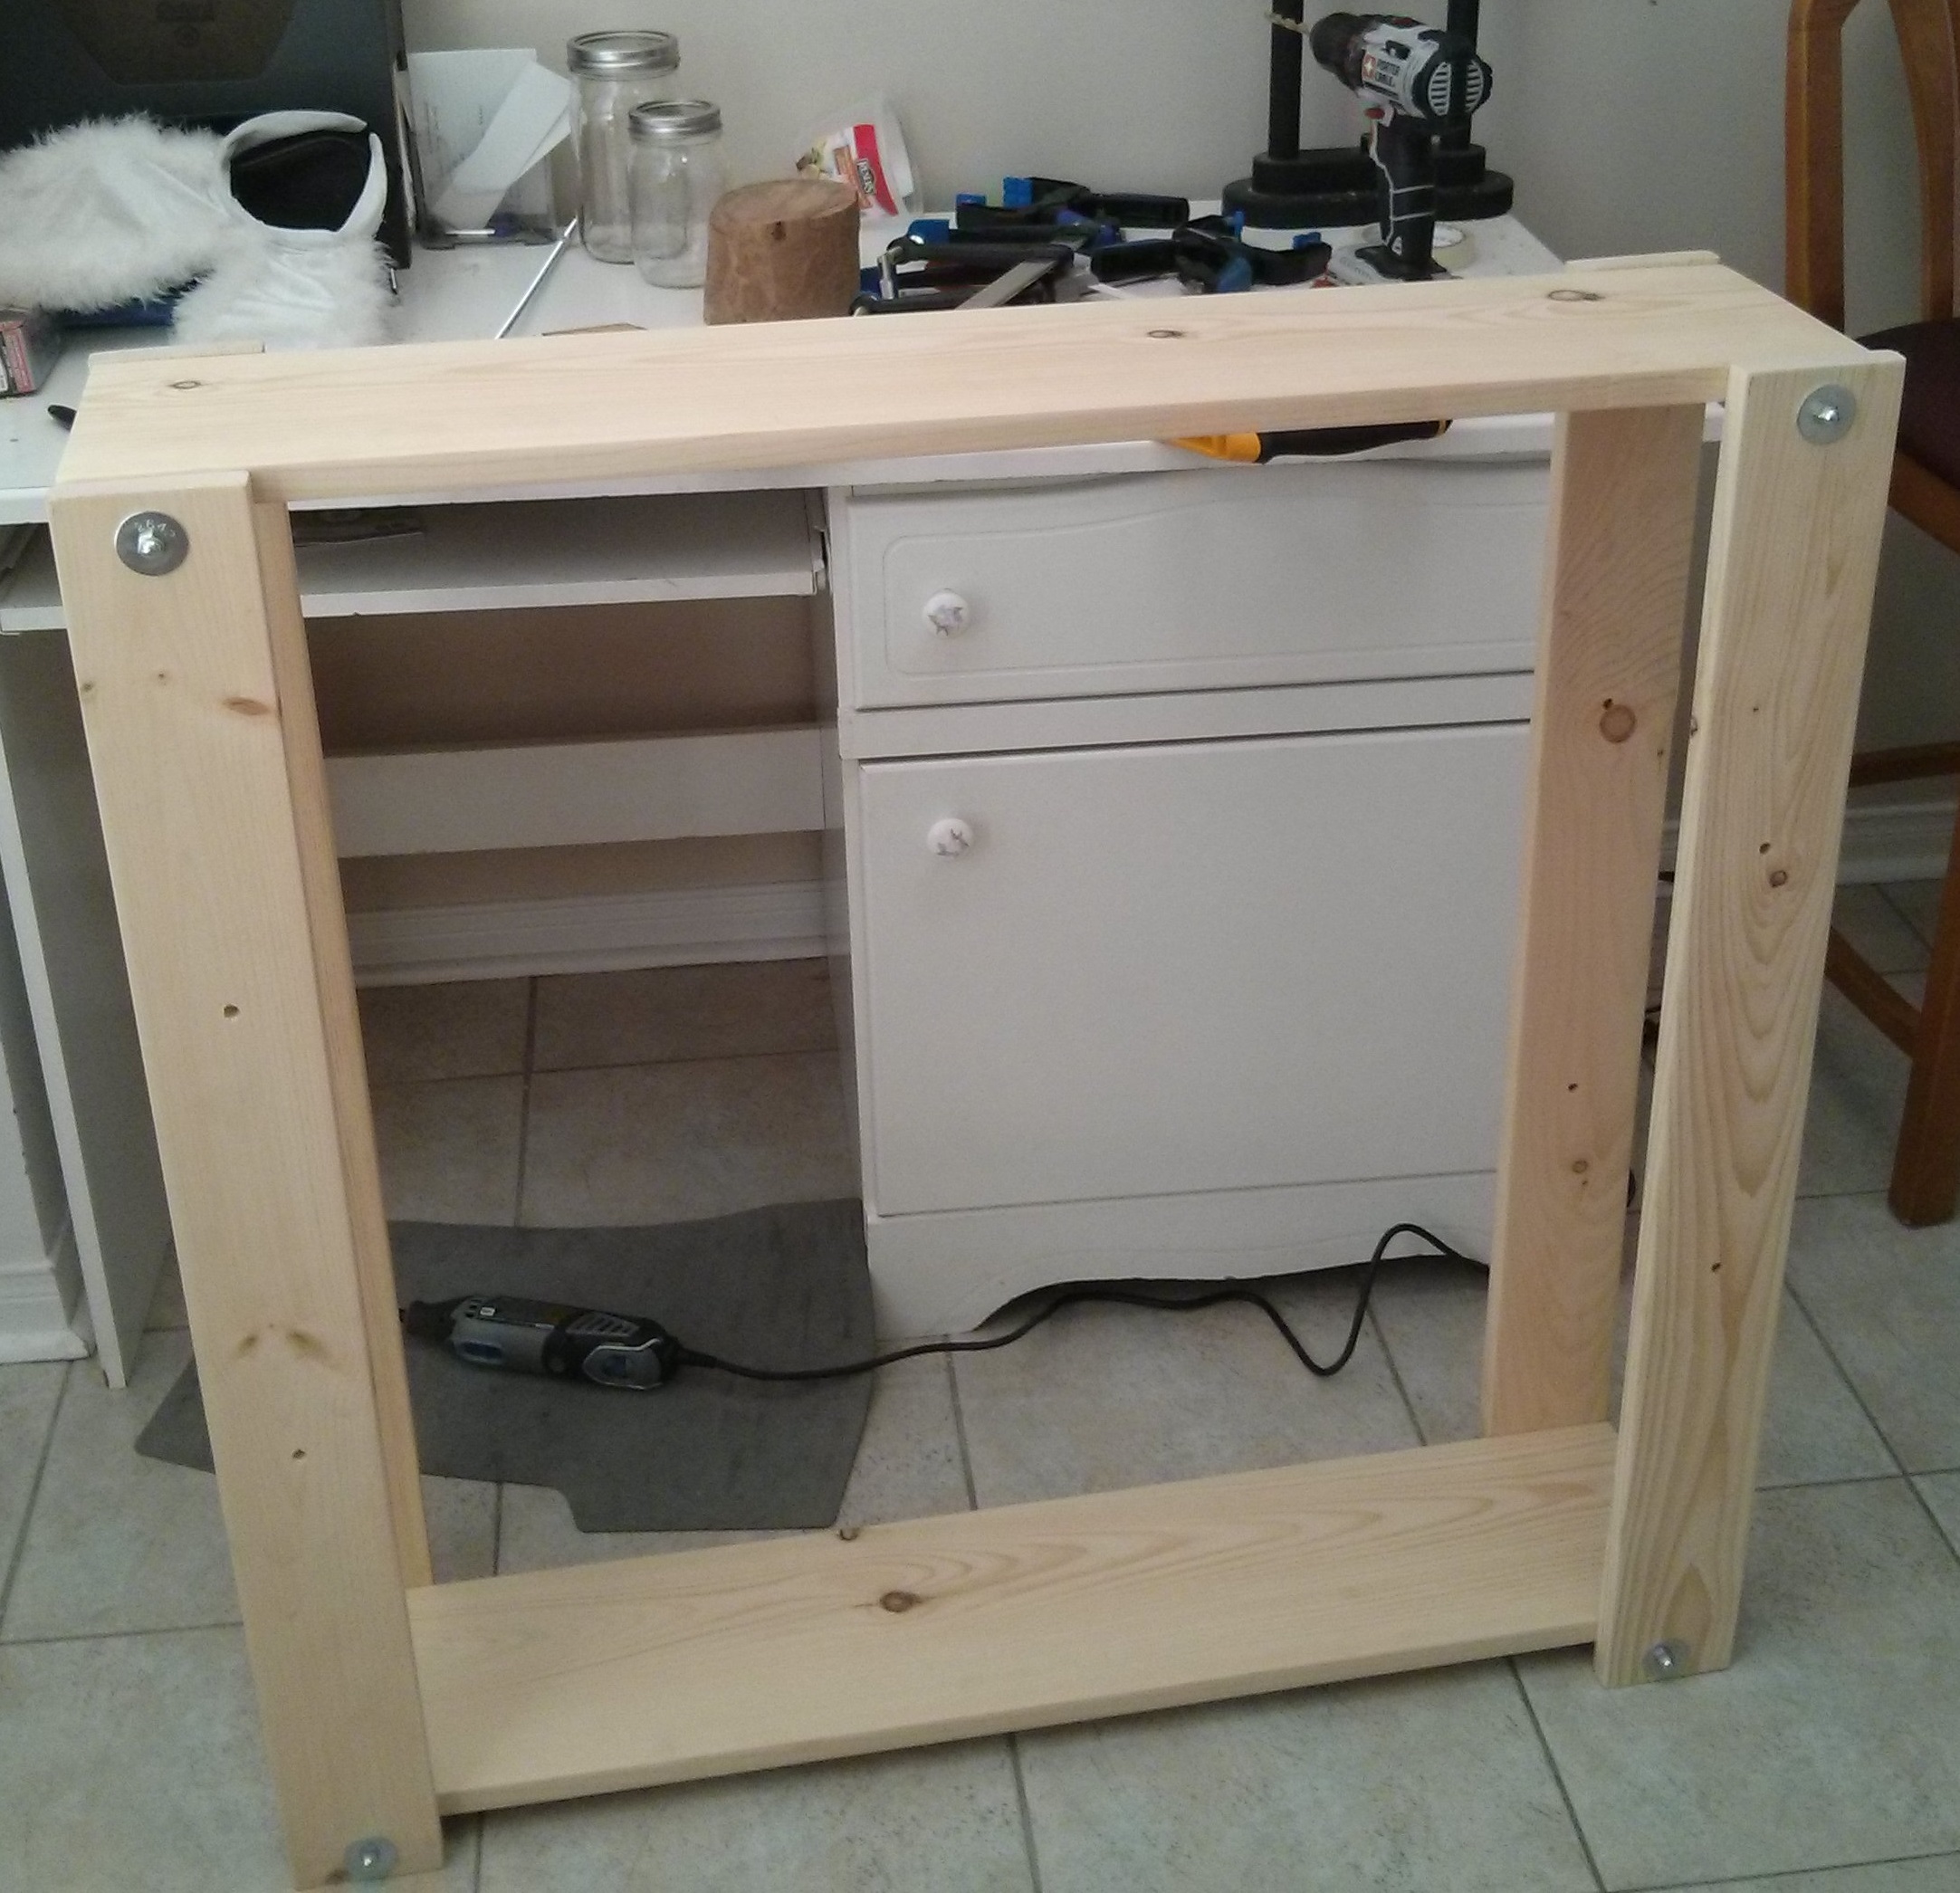
Having such few parts, this shelf was very easy to assemble. I loosely fastened the top and bottom pairs of threaded rods, then placed the shelves on them and slightly tightened the nuts to hold them in place. I then fastened the rest of the threads and again moderately tightened the nuts.
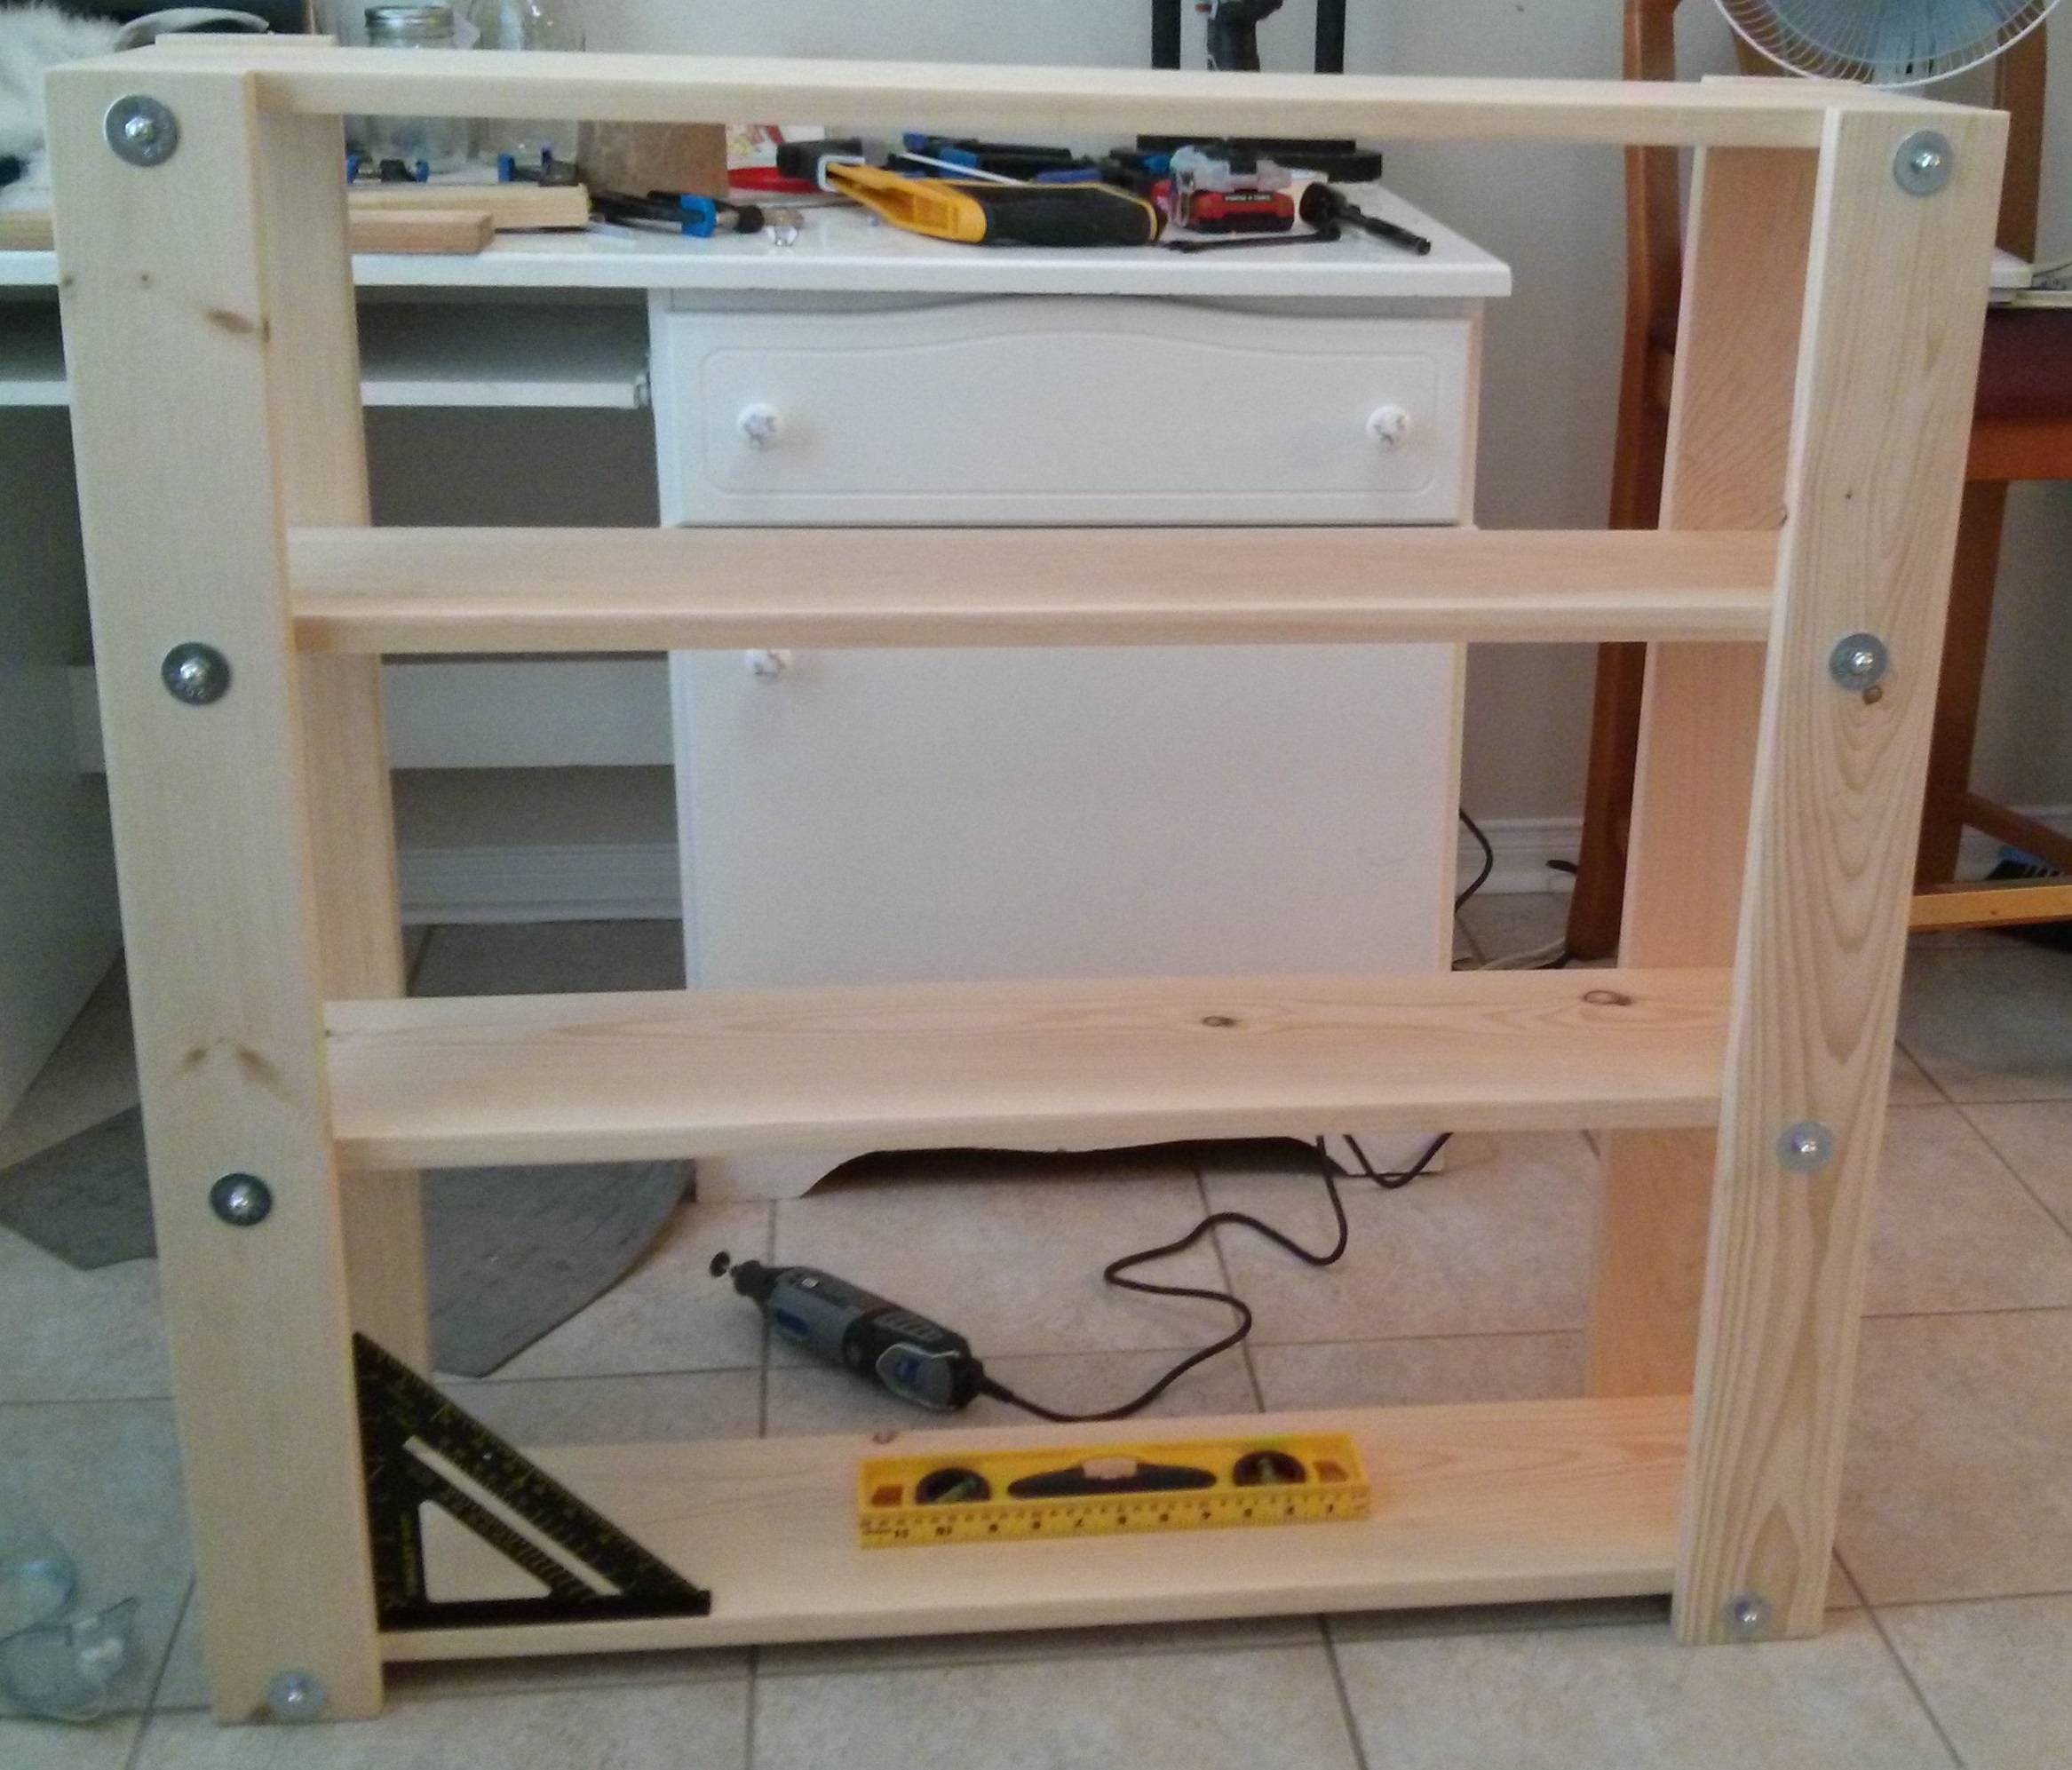
One advantage of using clamping force in this build, is that even though my rods weren't well aligned, the shelves don't have to rest on the rods, and can be moved about as needed to level. I placed my level on the shelf and adjusted the shelf to be true in all levels, then repeated for each shelf. Once I confirmed everything was level, I tightened all the nuts. They don't need to be incredibly clamped down. Once it was all put together, I gave it a quick stability and carrying test and was amazed by how well it held together.
Conclusion
I was a bit apprehensive with the idea of the shelf being able to support books with just clamping force, but the results are very impressive, and many reviews on the source site back it up. I was able to build this mostly in my kitchen, save for the mitre saw outside and sanding in the garage to save on the mess, so it's an easy build with high tolerances that allows for a quick build.